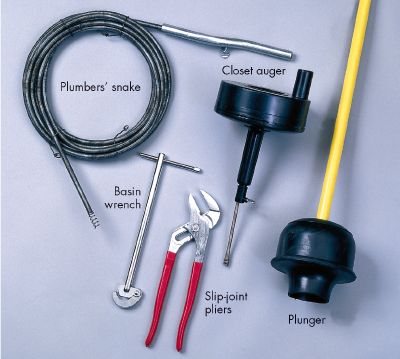
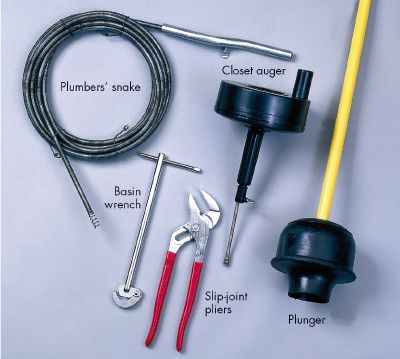
Before starting to replace the handle of a toilet, it helps to know its function. The entire flushing process begins with the handle. When you push down on the handle that’s located on the outside of the toilet tank on the right hand corner, it makes the trip lever rise. A chain hangs from the trip lever, inside the tank, which lifts the flush ball from its seat. When the flush ball is lifted, the water from the tank flows into the bowl. As soon as the tank is empty, the flush ball drops back into its place [source: Friendly Plumber]. It’s extremely easy to replace the handle on your toilet tank. The only tool you will need is a wrench. Here are the simple instructions.
- Shut off the water supply to the toilet tank. The valve is located either under or on the side of the toilet.
- Lift and remove the cover from the water tank. Put it in a safe place to prevent it from falling and breaking.
- Locate the lift chain hooked to the handle rod. Pull the chain, as that will cause the tank to empty.
- Unhook the chain from the handle rod.
- Remove the nut that is attached to the handle, holding it in place. You will have to turn it clockwise using the wrench.
- Remove the handle and replace it with the new one. Attach the new handle with the nut, this time turning the nut counter-clockwise. Tighten it with the wrench.
- Replace the tank cover and turn the valve back on; the tank will now fill up with water [source: Simkins].
Read the full article here


