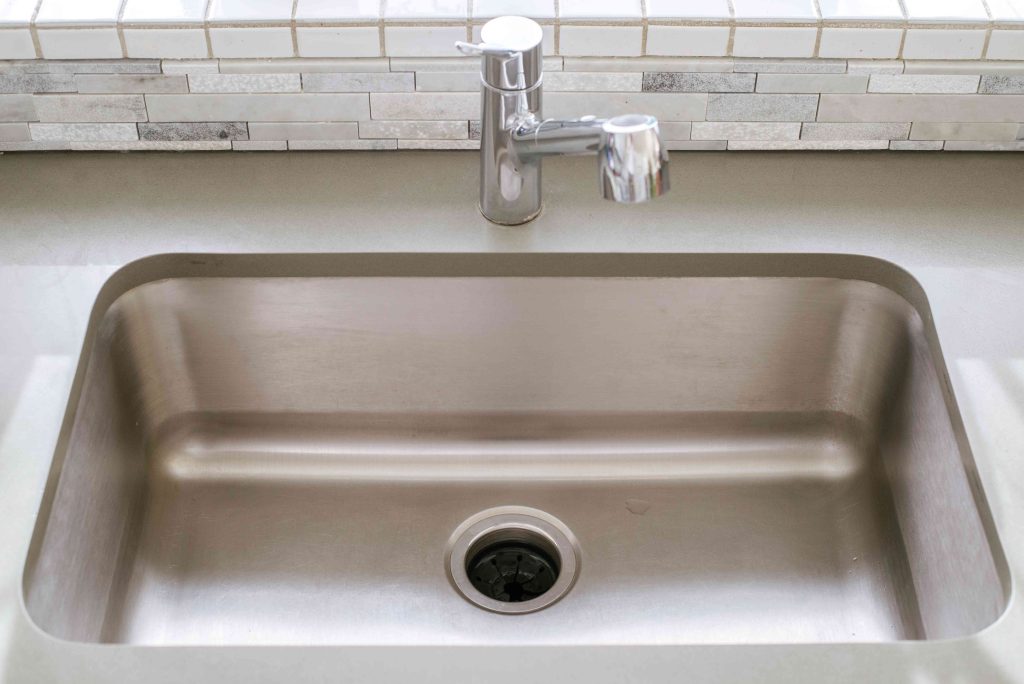
Several problems requiring repair commonly crop up with garbage disposers or disposals. They can jam up when objects bind the impeller blades inside the appliance. The drain fittings can loosen and cause leaking beneath the sink. Or, the drain connecting the garbage disposal to the rest of the sink’s drain trap assembly can become clogged and cause water to back up into the sink basin where the disposer is installed.
In a double-basin sink, when it’s only the disposer basin that backs up with water, the likelihood is that the drain fitting on the disposer is clogged.
Causes of a Garbage Disposal Clog
A disposal generally has no problem grinding most food waste, but it’s what happens after the grinding that can cause a clog. Often this has to do with how ground food waste reacts to water (or lack of water) after the disposal unit grinds it up and sends it on its way toward the drain line. When a garbage disposer clogs, you will often find the problem in the drain trap assembly located on the waste discharge side of the disposal.
Disposals also can back up over time because the waste line or trap gets coated and eventually obstructed with food waste. If your garbage disposal is draining very slowly or not at all, the problem is most likely in the drain trap—the U-shaped plumbing fitting that is located downstream of the disposal discharge pipe.
Here are some of the most common ways that users create garbage disposer clogs:
- Lack of flushing water: Not putting enough water down the disposal when it’s grinding is a sure way to get a clog. Without sufficient water, the waste can’t be flushed through the pipes and will quickly build up. Once a full blockage occurs, water can’t flow at all.
- Grinding up eggshells or coffee grounds: Food items like eggshells or coffee grounds are a bigger problem than you might imagine. When ground up by a disposal, eggshells and coffee grounds create very tiny granular waste that will stick to any sludge found in the pipes, quickly becoming a clog.
- Grinding potato peels: Potato peels are notorious clog makers and should not be put in a garbage disposal. Once ground up, they form a starchy paste similar to mashed potatoes that will quickly clog the drain.
- Grinding banana peels: These are a similar problem to potato peels, except they also add stringy fibers to the mix.
Watch Now: How to Repair a Clogged Garbage Disposal
What You’ll Need
Equipment / Tools
- Bucket
- Channel-type pliers
- Scrub brush or wire
- Drain snake (if needed)
Materials
- Paper towels or rags
Instructions
-
Remove the P-Trap
Place a catch bucket beneath the disposal’s drain trap. Use channel-type pliers to disconnect the slip-nut fittings on the drain trap, and remove the trap. It’s not uncommon for water to spill out of the pipes as you disconnect them. The trap will be full of water and, most likely, food waste. Carefully dump it out into the bucket. Have paper towels or rags nearby for any accidental spills.
-
Clean the Trap
Check for clogs or obstructions in the trap fitting. Most often, clogs will occur in the sharp bend of the trap. A small scrub brush is the most effective way to dig out any debris. You can also use a straightened coat hanger or other wire.
-
Check the Trap Arm
If the clog isn’t in the trap, it may lie in the trap arm, the horizontal drain piece that connects the trap to the branch drain pipe going into the wall. You can remove the trap arm by loosening the slip nut where the arm meets the vertical branch drain and pulling out the arm. Clean inside the trap arm with a brush or wire.
-
Snake the Branch Drain (if Needed)
If the P-trap and trap arm were relatively clean when you removed them, the clog is likely in the branch drain leading to the home’s main drain. The best way to clean this line is by snaking it with a drain snake, or auger. A simple 25-foot drum auger (sold and home centers and hardware stores) usually does the trick.
Feed the auger cable into the branch drain from under the sink, turning the drum as you go to work the cable past pipe bends and break up the clog. Run the cable out and back through the drain a few times to be sure the clog is cleared.
How to Use a Plumbing Snake to Unclog Drains -
Reassemble the Drain
Reinstall the trap arm and P-trap, tightening the slip nuts just snug. Check the positions of the pieces and make sure the trap arm slopes downward slightly toward the branch drain. When all looks good, tighten the nuts all the way by hand. If necessary, tighten them a bit further with channel-type pliers, but be careful not to over-tighten, which can damage the nuts or threads.
-
Flush the Drain
Run water down through the disposal for several minutes to flush any loose debris through the drain system. When you’re sure the drain is working properly, you can do a bigger flush by putting a stopper over the disposal opening, filling up the sink basin with hot water, and quickly pulling out the stopper. This helps to flush out the pipes and dislodge remaining clog material.
Read the full article here


