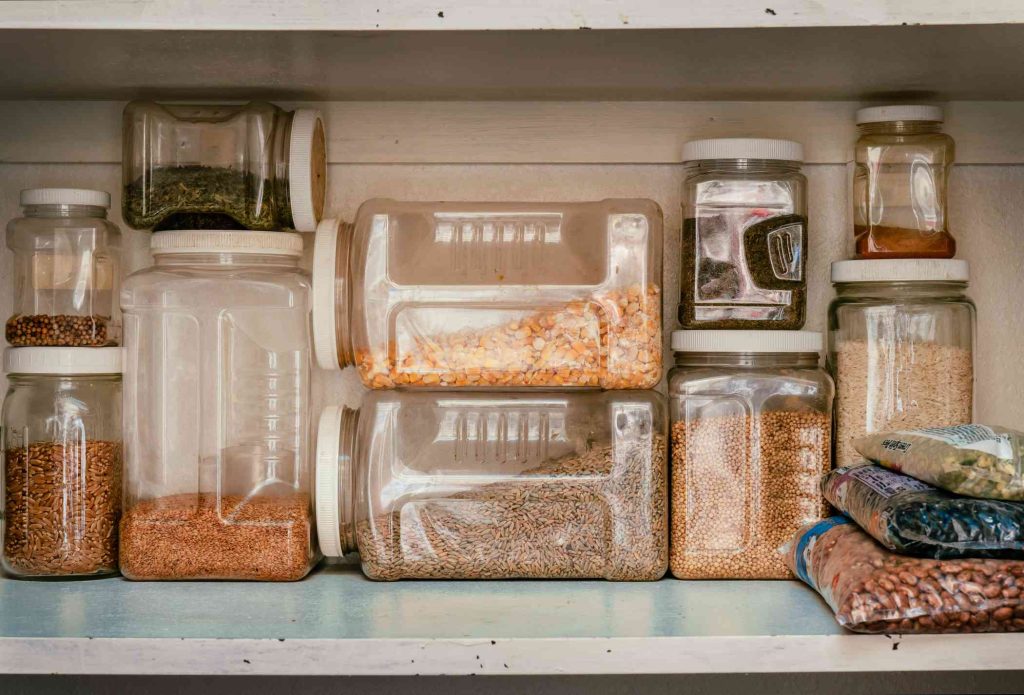
Transform fixed shelves in pantry cabinets or linen closets into roll-out shelves that slide into full view. Build a simple pull-out shelf without sides for large items or linens. Or go the extra step and build low sides to keep items in place. Building DIY pull-out shelves is straightforward and inexpensive. Drawer slides typically cost $10 to $15 per pair, and you may even be able to reuse the current shelf.
Before You Begin
Check the cabinets for an overlay. Framed cabinets have a front overlay similar to a picture frame. Spacers on the inside help the shelf clear the overlay. Frameless cabinets have no overlay, so spacers are not needed.
You can reuse the current shelf if it is not sagging and the edges are in good condition and not split or chipped. If the shelf is in poor condition or you simply want to start fresh, purchase 3/4-inch plywood or MDF.
What You’ll Need
Equipment / Tools
- Circular saw or table saw
- Electric drill
- Electric miter saw
- Nailer
- Tape measure
- Clamps
- Bubble level
Materials
- Bottom-mount drawer slides, pair
- 3/4-inch screws
- 3/4-inch plywood or MDF
- One-by-two wood (for sides)
- Wood glue
Instructions
How to Build the DIY Pull-Out Shelf
-
Measure the Cabinet
With the tape measure, measure and write down the following pantry or cabinet dimensions. You will need these dimensions to purchase shelf material.
- Cabinet inside width: Measure the inside width of the cabinet, from one wall to the opposite wall.
- Overlay width: For framed cabinets, measure the inside opening width from side to side.
- Cabinet depth: Measure the depth of the cabinet, from the back wall to the outside edge of the cabinet, not including the door.
-
Plan the Shelves
Remove all shelves from the cabinet. If you are installing more than one pull-out shelf, decide how many pull-out shelves you would like and their vertical positions. Anticipate the items you will place on the shelves so that you’ll have plenty of clearance. Measure the inside height of the cabinet from the floor to the underside of the top of the cabinet.
-
Measure the Overlay Projection
For framed cabinets, measure the inward frame projection. Hold the end of the tape measure against the inside wall of the cabinet. Read where the edge of the frame meets the tape measure. Note the measurement.
Most cabinet overlays project about 1/2-inch from the inside, but be sure to measure your own cabinets.
-
Test the Spacers
Test the intended spacers by holding one of the pieces against the inner wall of the cabinet. The spacer should be flush with the cabinet overlay or slightly beyond. Half-inch-thick plywood or spare pieces of trim work well as spacers.
-
Cut the Spacers
Cut the two spacers. Each spacer should be about two to three inches wide, with a length that is one inch less than the cabinet depth.
-
Install the Spacers
Place one of the spacers on the inside wall of the cabinet. With a bubble level, make sure that the spacer is level from front to back. Remember that the slide will be mounted in the vertical center of the spacer. Use the electric drill and driver bit to screw the spacer into the cabinet. Install the other spacer on the opposite wall. Keep the heights consistent.
-
Measure Shelf Width
For framed cabinets, measure the side-to-side distance between the spacers with the tape measure.
For frameless cabinets, measure the side-to-side width of the inner cabinet walls.
-
Cut the Shelf
Cut the width of the shelf to the width between the spacers, minus the total clearance needed for the two sliders. For bottom-mount sliders, this is generally 1-inch (1/2-inch per slider).
-
Install the Sliders on the Shelf
Place the shelf upside-down. Separate the slides, keeping the two sliders with rollers (the other two sliders go on the cabinet). Position the sliders so that the wheels are on the intended back of the shelf. Screw the bottom-mount sliders to the shelf.
-
Install the Sliders on the Cabinet
Screw the other half of the cabinet sliders on the cabinet spacers (for framed cabinets) or directly on the walls of the cabinet (for frameless cabinets). Place the sliders at the vertical mid-point of each spacer, making sure that the spacers are at the same height. The roller wheel should be at the front of the cabinet.
How to Build Sides for a DIY Pull-Out Shelf
Add sides to a pull-out shelf to secure items when the shelf is moved. Sides also prevent the shelf from sagging over time. Box in all four sides of the shelf or just add a back to keep items from falling into the cabinet.
-
Measure the Pull-Out Shelf
Remove the pull-out shelf. Measure its width.
-
Cut the Sides
Transfer the width measurement to the one-by-two board. Cut two pieces on the miter saw to that measurement.
-
Install the Sides
Run a thin bead of wood glue on the narrow (1-inch) edge of the boards. Clamp one of the sides to the front-top of the shelf and another side to the back-top of the shelf. Turn the shelf over. Nail into place from the bottom with the nailer.
-
Measure and Cut the Lengthwise Sides
Measure the distance between the front and back sides. Transfer that measurement to the one-by-two board and cut off two pieces.
-
Attach the Remaining Boards
As with the front and back, add glue to these pieces, clamp to the shelf, and nail into place. Wipe off excess glue.
-
Remove Clamps and Replace the Shelf
Leave the clamps on for at least 30 minutes to an hour so the wood glue can achieve full strength. Remove the clamps and replace the shelf in the cabinet.
-
Can you add pull-out shelves to existing cabinets?
Yes, you can add pull-out shelves to existing cabinets. Cabinet frames may hamper access but spacers can help the shelf bypass the frame.
-
How much weight can pull-out shelves hold?
Pull-out shelves on bottom-mount drawer sliders can hold up to 50 pounds. But it’s best to keep loads to a minimum, especially in the front three-quarters of the shelf as this is the part that extends.
-
How do you make shelves into drawers?
Make a shelf into a drawer by adding drawer sliders to the shelf and to the inside of the cabinet. Sides need to be built onto the shelf to make it into a drawer.
Read the full article here


