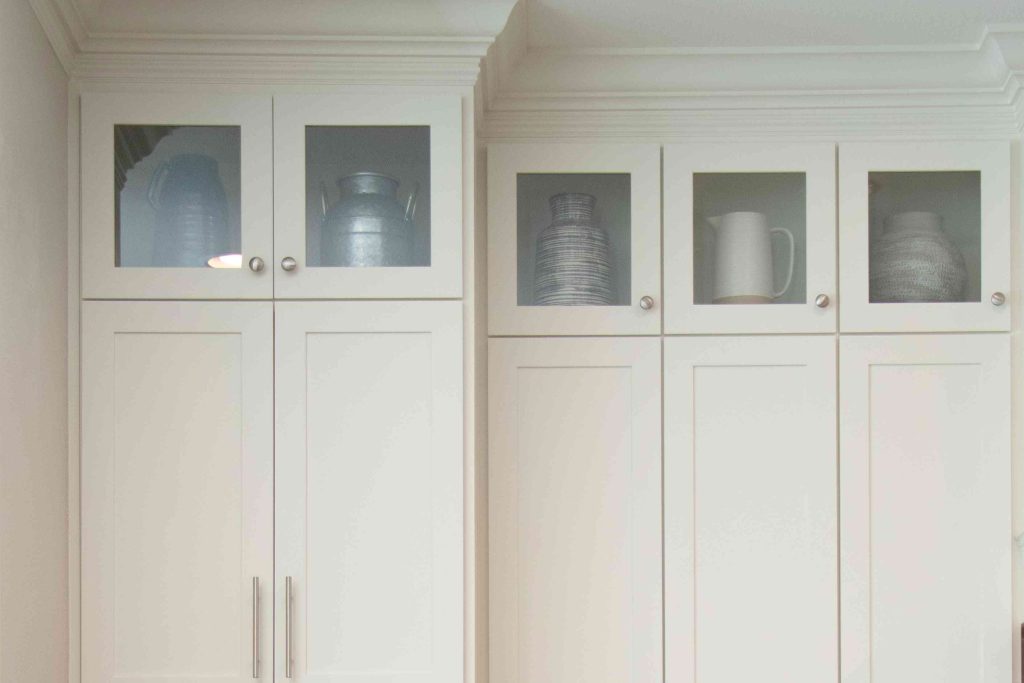
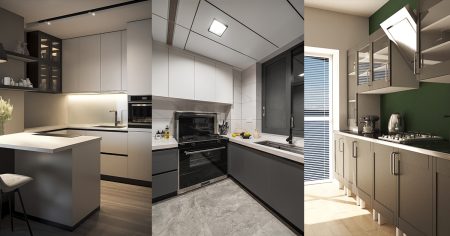
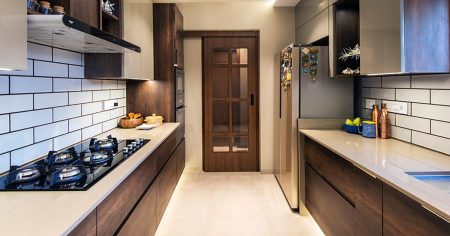
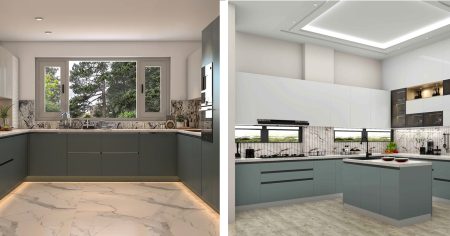
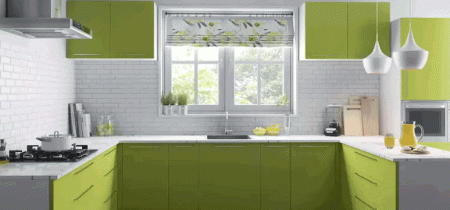
Installing crown molding on kitchen cabinets decorates the tops of cabinets and softens the look of cabinets with open upper spaces. While installing new cabinets that run to the ceiling is one way to fix these dark, unused areas, installing crown molding is far cheaper and easier. Learn how to install crown molding on kitchen cabinets, including a long run across the front and two short pieces that wrap around the sides.
Before You Begin
Whether your wall cabinets are framed or frameless affects how the crown molding is attached:
- Framed: Cabinet doors on framed cabinets have a space of about 1-1/2 inches around them. The crown molding can be nailed directly to the cabinets.
- Frameless: Cabinet doors on frameless (or full overlay) cabinets completely cover the faces of the cabinets. The crown molding cannot be nailed directly to the cabinets as there is no nailing space above the doors. A nailing cleat must be added to the tops of the cabinets.
Safety Considerations
Observe all safety instructions that came with the electric miter saw. Wear eye and hearing protection. Use an optional miter saw crown stop to steady the molding for increased safety and for more precise cuts.
What You’ll Need
Equipment / Tools
- Electric miter saw
- Miter saw crown stop
- Electric brad nailer
- Hammer
- Step ladder
- Tape measure
- Pencil
Materials
- Crown molding, 8 feet
- Wood glue
- One-by-four primed board, 8 feet (optional)
- 1-1/2-inch finish nails (optional)
Instructions
How to Install Molding on Cabinets
-
Measure the Cabinets
Measure the cabinets to determine the quantity of crown molding to purchase. Run the tape measure along the cabinets, including all side sections. Add 10- to 15-percent to account for wastage.
-
Mark the Front Crown Molding
Hold a 54-inch piece of crown molding so it is horizontal. Lay the molding lengthwise across the top-front of the cabinet. The crown molding should be tilted at a 45-degree spring angle. At each of the cabinet’s outside corners, place a pencil mark on the back of the crown molding on the bottom.
-
Mark the Left and Right Crown Molding
Hold a 15-inch piece of crown molding on the left side of the cabinet, one end butted against the wall. Tilt the molding at a 45-degree angle. Mark the cabinet corner on the back and bottom of the molding. Repeat for the right side of the cabinet.
-
Adjust the Miter Saw for the Front Molding
Add the crown stop to the miter saw so that the crown molding will be firmly supported at a 45-degree angle. Turn the crown molding upside-down and place it firmly between the crown stop and the saw’s back fence.
-
Cut the Front Molding’s Left Side
Adjust the saw’s rotating table rightward to 45 degrees. Slide the molding into place so that the blade will contact the pencil mark on the right end of the molding. Make the cut.
-
Cut the Front Molding’s Right Side
Adjust the saw’s rotating table leftward to 45 degrees. With the molding still upside-down, slide it leftward to the cut mark. Cut the molding.
-
Cut the Left Piece of Molding
Adjust the saw’s rotating table leftward to 45 degrees. Turn a 15-inch-long piece of crown molding upside-down and place it in the saw. The majority of the trim should be on the right side of the blade. Cut the angle.
-
Cut the Right Piece of Molding
Readjust the saw’s rotating table rightward to 45 degrees. Similar to the other side piece, cut a 15-inch piece of molding at an angle.
-
Add Wood Glue
Add a light bead of wood glue to the angled cuts.
-
Attach the Crown Molding to the Cabinet
Fit the crown molding against the cabinet and nail it into place with the brad gun.
How to Install a Nailing Cleat for Frameless Cabinets
For a frameless cabinet, build a nailing cleat on top of the cabinet with one-by-four primed board. Make sure that the board has a square edge, not an eased edge.
- Stand on a step ladder to access the tops of the cabinet.
- Hold a one-by-four board lengthwise on top of the cabinet.
- Mark the length of the cabinet on the board and cut the board accordingly.
- Attach this board to the top of the cabinet with 1-1/2-inch finishing nails. Be careful not to split the cabinet.
- Mark the lengths of the left side and right side pieces and cut on the saw.
- Attach the left and right pieces to the cabinet.
-
Should you put crown molding on your cabinets?
You may want to put crown molding on your cabinets if you want to minimize the look of the dark, vacant soffits—the spaces above the cabinets. You may also want to install crown molding on your cabinets to dress up the kitchen and give it a fresh, classic look.
-
How big should crown molding be on cabinets?
Crown molding up to 3 to 3-1/2 inches wide tends to look best when installed on kitchen cabinets. Narrower molding can get lost, while wider molding will overwhelm the cabinets.
Read the full article here


