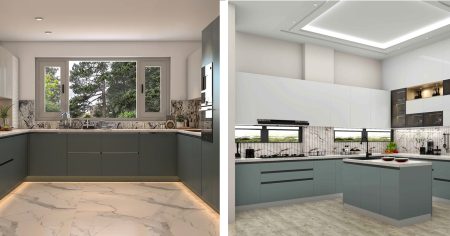
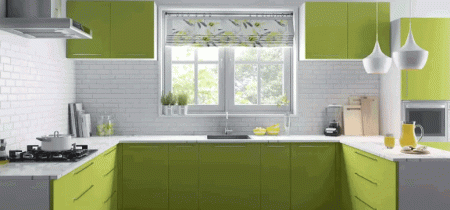
Range hoods are valuable additions to kitchens for clearing out stoves and cooktops of smoke and gasses. Once you install a range hood, you can say goodbye to misted cooking grease or smoke alarms going off at the slightest hint of smoke.
Codes and Regulations
If this is a one-for-one replacement, a permit may not be required in your municipality. Often termed a like-in-kind replacement for appliances such as dishwashers, ovens, toilets, or sinks, this type of improvement may not require permitting in the same location if no modifications are made to gas, plumbing, or electrical lines. Be sure to check with your local permitting department first, though. The installation procedure detailed in this article will likely require obtaining a permit. Permitted or not, the installation of the range hood will always be subject to local building codes, as well as any homeowner’s association restrictions.
Basics of Installing a Range Hood
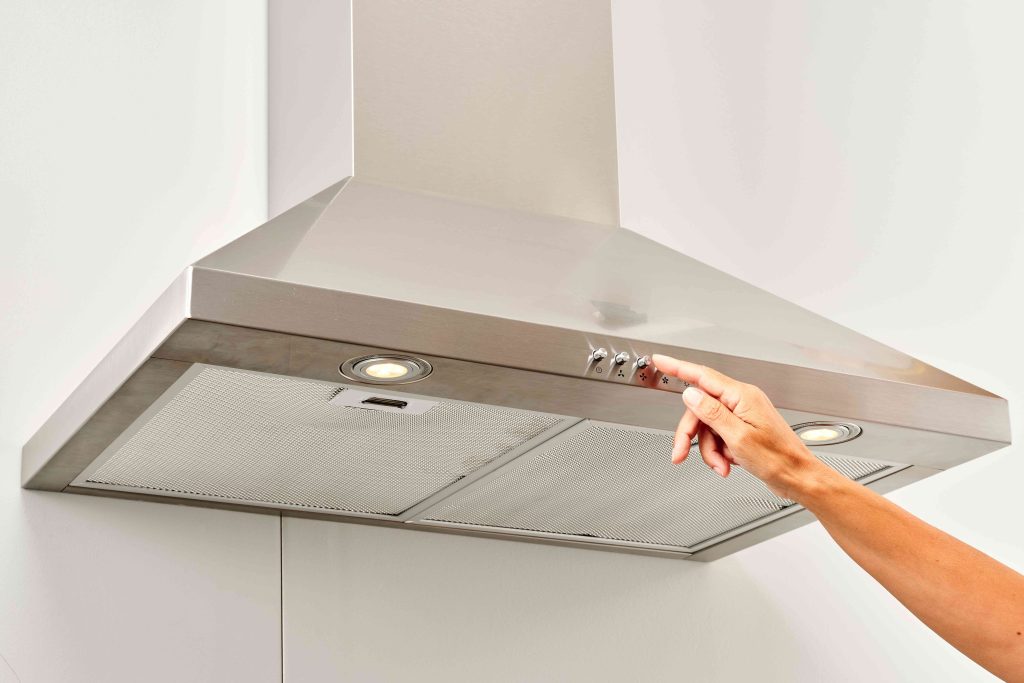
Range hoods are placed directly over a countertop-based cooktop or a stove. Range hoods have a large downward-facing hood to collect the smoke or steam and force it out of the house with a multi-speed fan through an aluminum filter. Ductwork typically runs out of the side of the house—above the level of the range hood—or directly upward through the roof.
Range Hood Use and Maintenance Tips
- Wash the metal filter at least once a month in hot water and detergent. Rinse in cold water and let it completely dry before re-installation.
- Filters should always be installed in the same direction. Look for imprinted arrows or instructions on the filter.
- Clean the range hood with a sponge, warm water, and a mild detergent. Never use abrasive cleaners.
- Most range hood fans are permanently lubricated and do not need re-oiling. However, consult the instructions to see if any lubrication is required.
- Regularly clean inside of the duct to remove grease and other debris that may catch fire.
What You’ll Need
Equipment / Tools
- Drill
- Pliers
- Drill bit set
- Phillips head screwdriver
- Flat head screwdriver
- Pencil
- Tape measure
- Hole saw
Materials
- Range hood
- Round duct, 7-inch
- Aluminum foil tape
- Duct wall or roof cap
Instructions
-
Determine Duct Route
Plan for the ductwork route by looking at your kitchen and determining the shortest route to the outside. Also try to add the least number of elbows into the ductwork. Even if the wall route is shorter, it might entail many elbows, making the roofing route a better choice. Never duct into an attic or other enclosed space.
-
Install the Ductwork
Begin on the outside of the house, cutting the siding or roof with the hole saw from this direction. Cut the hole so that it is slightly larger than the diameter of the duct. Leave about 3/4-inch of duct protruding so that it can be attached to the cap.
Run the duct back to the range hood. Always use metal duct materials, never plastic. Never leave connections unseamed. Be sure to seam connections with aluminum foil tape.
-
Cap the Duct
Cap off the duct on the house siding or roof. Fasten the cap securely to the wall or roof and thoroughly caulk. If this is a roofing installation, be sure to lay the shingles back down over the duct’s apron and use roofing cement to seal all of the nail heads and cut areas.
-
Prepare the Installation Area
Inside the house, drill an opening for the electrical wire and for the ductwork. Most range hoods will have some type of installation mount system. In some cases, it may be a simple direct-mount system, with four screws driven into place upward (if cabinets are above) in a prescribed pattern, with the range hood latching on with keyhole slots. In other cases, the range hood may have a metal receiving plate that is screwed into place, and which the range hood can later slide into.
-
Run the Electrical Wiring
The electrical wiring likely will be coming into the range hood area either from a cabinet above or through the wall to the side. Pull the electrical cable through at least 6 inches. Rip (strip) the sheathing back, separate the wires, remove the protective paper, and strip the copper wires.
-
Place the Range Hood in Position
The hood should be directly over the cooking area, with the electrical wiring coming through a hole in the wall or cabinets. The duct connector should slide into the ductwork. The hood should be flush with the cabinets. Bring the electrical wiring into the range hood electrical box and make the proper electrical connections. Reattach the electrical box cover.
-
Fasten the Range Hood
If this is a direct-mount range hood, ensure that the screws are still positioned in the slot section (not the round section), then tighten them in place with the Phillips head screwdriver. If the range hood has a receiving plate, follow the manufacturer’s instructions for sliding the hood into place.
When to Call a Professional
Contact a building contractor if you need to add ductwork through the side of your house or through the roof and do not feel comfortable with this task. If you are unfamiliar with installing electrical wiring under the National Electrical Code (NEC), be sure to call a qualified electrician.
Read the full article here


