Homes are not always built to be user-friendly, and even modern houses can be difficult for those with mobility issues. Fortunately, adding a wheelchair ramp to your home can make a significant difference. This task can be completed without professional assistance. While the project will be easier for advanced DIYers, it’s far from impossible. Your biggest concern when building a wheelchair ramp will be to ensure that it complies with ADA requirements. Read on to learn how to build a wheelchair ramp.
ADA Ramp Requirements
Accessible design seeks to create equality in houses and other buildings for people with disabilities. The Americans with Disabilities Act (ADA) provides guidelines for wheelchair ramps on public buildings. For a public ramp to be ADA-compliant, it should meet the following specifications.
- Slope of 1:12 but ideally 1:16 to 1:20
- Minimum of 36 inches wide
- Protected edges
- Level top and bottom landings equal to the width of the ramp and 60-inches long for a total area of at least 15 feet square, each
- Handrails on both sides for rises greater than 6 inches or horizontal projections greater than 72 inches
- 1 1/2-inch space between the handrail and any wall that it might be installed on
- Continuous handrails, ideally, though some provisions can be made for non-continuous handrails
- Handrail between 34 and 38 inches above the ramp (as measured to the top of the handrail)
- Handrail diameter between 1 1/4 and 1 1/2 inches
While ramps on private residences are not required to conform to ADA standards, these guidelines do provide important design notes for private residences. However, local building codes and homeowner’s association (HOA) restrictions may apply and might even supersede ADA standards.
Building the Wheelchair Ramp
Length, Width, and Rise
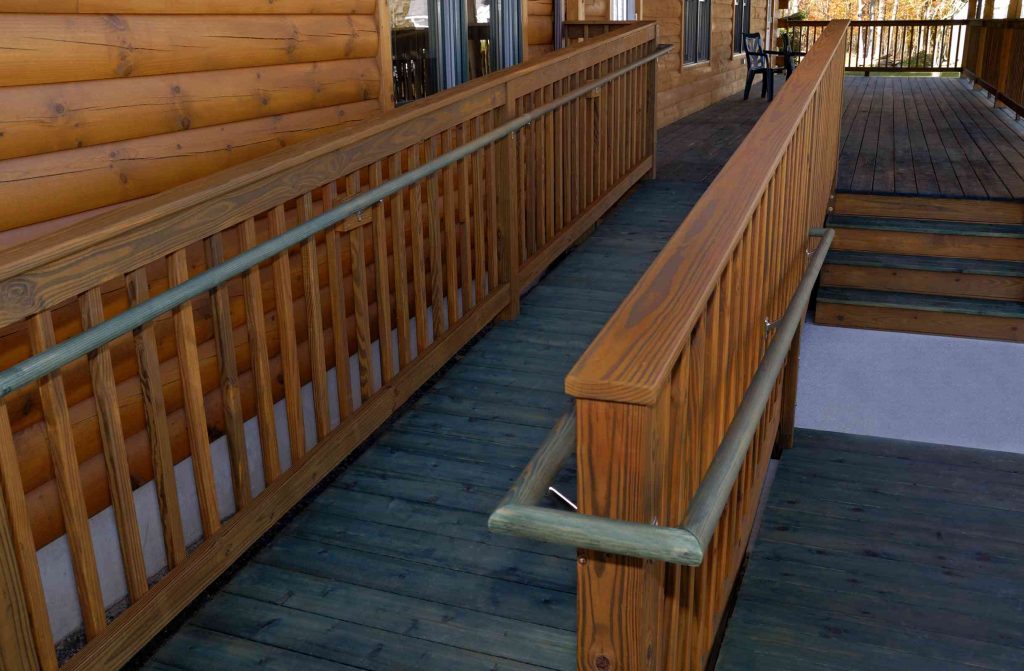
This wheelchair ramp is a straight 12 feet long and a generous 4 feet wide to accommodate all mobility assistive devices. The ramp rises from ground level to 12 inches high for a 1:12 slope. The ramp has handrails on each side attached to eight posts installed in the ground.
Location
You will want to build the wheelchair ramp so that it leads up to the doorway of the home. It’s critical that the main door to the house be easily accessible from the top of the ramp. Consider what area is available in front of the house, which will help you determine which type of wheelchair ramp to build.
Type of Ramp
There are various types of wheelchair ramp, including straight ramps, U-shaped ramps, and L-shaped ramps. Straight ramps are the most basic option, U-shaped ramps require the least amount of space but include a 180-degree turn that may be difficult for some, and L-shaped ramps offer a slow-rising slope but require an area that can fit their shape.
Note that this guide is for a straight ramp, which is the simplest to build and use.
When to Build
Since this ramp is an exterior project, you may want to build it in fairer seasons, typically from late spring to early fall. However, since the ramp is built in two sections, each section can be built in a protected area such as a garage and moved to the house exterior for the final installation.
How to Build a Wheelchair Ramp
What You’ll Need
Equipment / Tools
- Circular saw
- Cordless drill
- Laser level
- Miter saw
- Hammer
- Shovel
- Tape measure
- Pencil
- Wood stakes and twine
- Speed Square
- Post hole digger
- Straight edge, 48 inches long or more
- Socket wrench set
- Chalk snap line
Materials
- 23 pressure-treated two-by-fours, each 8 feet
- 4 pressure-treated four-by-fours, each 8 feet
- 48 square feet of deck boards
- 8 bags of quick-set concrete
- 5 joist hangers for two-by-fours
- Galvanized 5-inch lag screws and washers
- Copper-based wood preservative
- 2 bags of landscape gravel
Instructions
-
Cut the Wood
Cut some of the wood with a miter saw or circular saw according to this initial cut list:
- All of the four-by-fours in half, producing 8 posts that are each 48 inches long
- Four of the two-by-fours in half, producing 8 boards that are each 48 inches long
-
Attach the Ledger Board
Use the lag screws to attach one of the 48-inch two-by-fours horizontally to the side of the porch or landing as a ledger board. Vertically step down the two-by-four the thickness of the eventual decking. For example, if the deck boards are 3/4-inch thick, then the top of the ledger board should be 11 1/4 inches high. This allows for the ramp’s deck boards to match the level of the porch or landing.
-
Attach the Joist Hangers
Attach the joist hangers to the front of the ledger board: one on each end and three spaced equidistantly in the middle.
-
Cut the Ends of the Joists and Install
- Place one of the two-by-fours in a joist hanger so that the other end touches the pavement.
- Turn on the laser level to produce a vertical line. Run this line across each end of the two-by-four in order to determine where to cut so that each end runs at 90 degrees to ground level. At a 1:12 slope, this angle should be close to 5 degrees.
- Cut all 10 ends with the miter saw or circular saw.
- Place the joists in the joist hangers and screw the two-by-fours into the joist hangers.
- Daub cuts with the copper-based wood preservative.
-
Install Flange Board
Screw one of the 4-foot two-by-fours into place at the ends of the five joists. Make sure that the boards maintain their distances from each other.
-
Cut the Bottom Ramp Joists
- Take three of the 4-foot-long two-by-fours. With the straight edge, mark a diagonal line on each one down its length from opposite corners.
- With the circular saw, cut these three boards to produce six angled pieces, each 4 feet long.
- Daub cuts with the copper-based wood preservative.
-
Attach a Flange Board
- Attach the five angled boards equidistantly to the end of a 4-foot two-by-four.
- Move the loose ends of the angled boards to their correct positions (12 inches apart from each other) and tack into place temporarily with a scrap board.
- Attach this entire section to the upper section of the ramp with lag screws.
-
Dig the Post Holes
- At four points on each side of the ramp, use the post hole digger to dig holes below the frost line. There should be one point at the front of the ramp, one at the very end (the top), and two more spaced equidistant from each other in the middle.
- Attach the 4×4 posts to the side rails of the ramp.
-
Set the Posts in Concrete
- Pour 4 inches of landscape gravel at the bottom of each hole.
- Set the posts plumb and cement into place with the quick-setting concrete. Generally, you will fill the area around the post with dry concrete, then fill the hole until full with water.
-
Cut the Posts
- Measure 34 inches above ramp level (adding in the eventual deck board height) to the first and last post on each side of the ramp.
- Snap a chalk line.
- Cut each post on the line.
-
Install the Handrails
- With the remaining two-by-fours, install handrails along the tops of the cut four-by-four post.
- Halfway down each post, run a second set of two-by-fours parallel to the handrails.
-
Install the Deck Boards
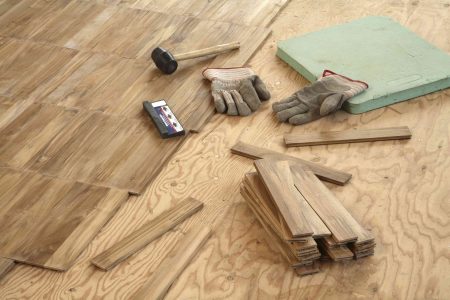
Cut the deck boards to 48 inches each and install on top of and perpendicular to the joists.
When to Call a Professional
Contact a building contractor experienced in building ADA-compliant home modifications for elderly or disabled people if you feel that this project is beyond your abilities. Look for contractors certified by the National Association of Home Builders as Certified Aging in Place Specialists (CAPS).
-
What is the proper slope for a wheelchair ramp?
The ADA recommends a 1:12 slope for wheelchair ramps, but a slope of 1:16 or 1:20 is preferable if there is room.
-
How long should a wheelchair ramp be for four steps?
A wheelchair ramp for four steps is typically about 35 feet, but the value depends on the size of the steps. Ensure that your wheelchair ramp is ADA-compliant when planning its length.
-
What is the minimum size for a wheelchair ramp?
While the minimum width for a wheelchair ramp is 36 inches to accommodate a wheelchair, the ramp must actually be 42 inches wide in order to fit two, 1.5-inch handrails and the 1.5 inches between each handrail and the edge.
Read the full article here


