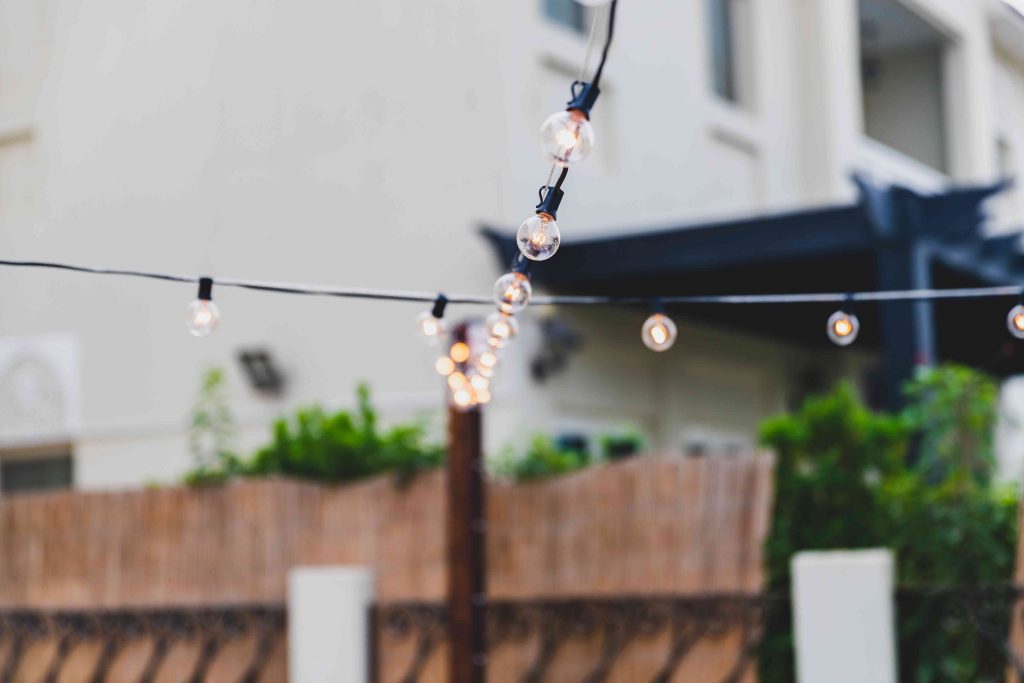
Building DIY string light poles is a perfect way to brighten up an outdoor space that doesn’t have any nearby spots for hanging string lights. DIY string light poles are a great design feature for patios, decks, or the space surrounding a fire pit or courtyard, as there’s no more effective way to add instant ambiance to an outdoor entertaining space. Best of all, DIY string light poles can be placed in planters as a temporary option or buried in the ground for a more permanent solution.
Here, we’ve provided simple steps for how to make DIY string light poles that you can knock out over the weekend.
Before You Begin
Before buying the materials for your string light poles, you should determine whether you’d prefer to have permanent string light poles buried in the ground or temporary string light poles, which you can remove or move whenever you want.
Temporary Vs. Permanent String Light Poles
Temporary string light poles consist of posts embedded in a concrete-filled planter. The heavy base keeps them upright while allowing you to move them or remove them after the season is over. Temporary string light poles cost a little more to build, as you must purchase planters. For planters, choose something sturdy with a style you like.
Permanent string light poles utilize the same posts as temporary string light poles, but the concrete goes in the ground rather than in a planter. As a result, these posts can’t be moved and removed easily. While you can save a little money by opting for permanent string light poles over temporary string light poles, be prepared for a workout when digging the holes unless you have access to an auger.
What You’ll Need
Equipment / Tools
Temporary String Light Poles
- Bucket
- Shovel
- Trowel
- Hammer
- Drill
- Level
Permanent String Light Poles
- Post-hole digger or auger
- Shovel
- Bucket
- Drill
- Level
Materials
Temporary String Light Poles
- 5-gallon planter
- 4 L-brackets
- 3/4″ wood screws
- Concrete
- Stainless-steel cup hooks or other hardware
- 4×4 x 8′ treated posts
Permanent String Light Poles
- Concrete
- Stainless-steel cup hooks or other hardware
- 4×4 x 10′ treated ground-contact posts
- Scrap boards
Instructions
How to Build Temporary DIY String Light Poles
-
Buy Planters
Look for a planter that holds around 5 gallons of concrete with a thick bottom that you can screw L-brackets to hold the post until the concrete hardens.
Plus, a thicker wood or plastic bottom will ensure the material doesn’t crack beneath the weight of the concrete, especially during relocation.
Mount the Posts to the Planters
Secure the post to the planters following these steps:
- Place the post centered in the planters.
- Secure it to the bottom using L-brackets and screws.
- Place the planter on level ground and check that the post is plumb using a level.
- Adjust if necessary.
-
Mix Concrete
Follow the manufacturer’s instructions to mix your concrete in a five-gallon bucket.
Regarding the amount of concrete you need, follow these guidelines:
- If you’re putting plants and soil on top of the planters, leave a few inches of room.
- If you’re filling the planter concrete, mix enough concrete to reach the top, then slightly round off the surface so it sheds water.
-
Pour Concrete into Planters
To fill the planters, follow these steps:
- After checking to ensure the post is still plumb, carefully pour the concrete into the planters.
- Tap the sides of the planter with a hammer to get any air bubbles out of the concrete and level the surface.
- Smooth the surface with a trowel or similar tool.
-
Drill Drainage Holes (Optional)
If you left room for plants above your concrete, drill four equidistant drain holes just above the top of the concrete.
-
Mount Hardware
At the top of the string light poles, attach your hardware of choice. Stainless-steel hooks will hold the sting lights securely without failing due to weather exposure.
How to Build DIY Permanent String Light Poles
To build permanent string light poles, forgo the planters and put your posts in the ground following these steps:
- Dig and Measure. Dig a hole measuring 8 to 10 inches with a depth of 1/3 of the length of your posts.
- Attach Support Legs. Place a ground-contact post in the hole and attach scrap board support legs to hold it plumb until the concrete sets.
- Fill With Concrete and Dirt. Fill the bottom half of the hole with concrete, then fill the rest with the dirt you removed.
- Attach Hardware. Once the concrete sets, remove the scrap board support legs and attach your hardware at the top of the pole.
-
What can you use for string light poles?
Wooden posts like 4x4s or 2x2s are great material options for building DIY string light poles. For light-duty string lights, 2x2s will be strong enough. However, heavy-duty string lights will benefit from the added strength of 4x4s.
-
How tall should posts be for string lights?
An eight to ten-feet post is a good height for a string light pole. This will allow you to leave some slack in the string lights, which will make the lights look more organic while leaving plenty of space for people to walk under the lights.
-
How do you keep string light poles from leaning?
The key to keeping string lights from leaning is ensuring they have a solid base. For temporary string light poles that aren’t buried in the ground, a heavy concrete base will ensure they stay upright while supporting the string lights.
For permanent string light poles that are buried in the ground, burying them deeper will keep them from leaning.
Read the full article here


