Gutters on your home may not look like much, but they are actually a powerful tool for keeping your house in good shape for years to come.
Few houses can go without a water diversion system. Without gutters, rain and snow roof run-off relentlessly pound the earth, creating heavy, water-logged soil that can crack the foundation. With metal or plastic gutters and downspouts, you can avoid this problem altogether. Installing gutters is a do-it-yourself job that pays off many times over, whether you intend to stay in your house for the long-term or sell at some point in the future.
Basics of Installing Gutters
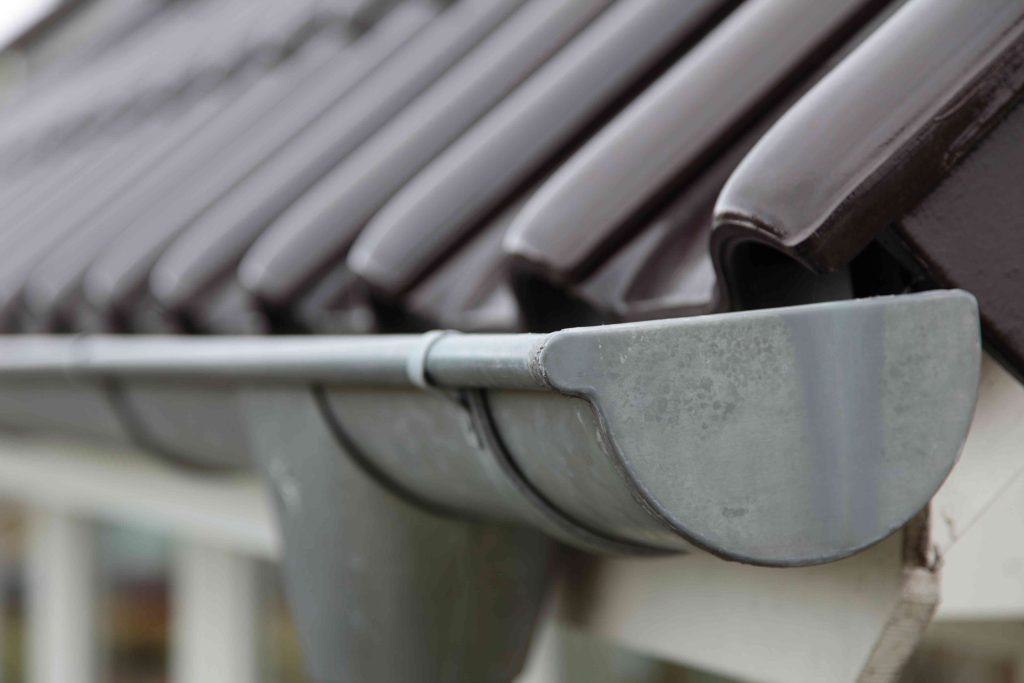
Moving roof water away from the house is as basic as letting the water drain into open-topped gutters attached directly to the house’s fascia. Gutters lead to closed pipes—downspouts—which drop the water to ground level. It’s a system that’s as effective as it is simple.
Most large home centers carry all components necessary for building a complete gutter system. Gutters and downspouts attach to each other with a variety of connectors and corners to form a unified system.
As long as you have good weather, a partner to help, the right tools, and a sturdy ladder, you should be able to install gutters on an entire one-story house in a weekend or two.
Gutter Installation Preparation
One frequent hangup with installing gutters is the condition of the fascia. When old gutters are removed, severe fascia damage might be revealed. The wood might be cracked, split, moldy, or rotten. Though hardier, PVC fascia, too, can fail.
Complete replacement of the fascia is usually the best course since the fascia must be strong enough to accept the new screws and to hold heavy, water-bearing gutters. Any run of 40 feet or more of gutters should have two or more downspouts.
Codes, Regulations, and Permits
Most communities generally do not require you to apply for a permit to install gutters and downspouts. Always check with your local permitting office, though.
When to Install Gutters
Gutters are best installed in dry, warm months. This eliminates the possibility of water runoff from the roof that may interfere with the gutter installation.
Safety Considerations
Work with a partner who can steady the ladder for you as you work. Work from the ladder, not from the roof. Wear eye protection and use heavy leather gloves whenever cutting metal gutters or downspouts.
What You’ll Need
Equipment / Tools
- Leather gloves
- Tin snips
- Safety glasses
- Hacksaw
- Rivet gun
- Set of drill bits and drivers (including hex head driver)
- Chalk snap line
- Nails
- Chisel
- Marker
- Cordless drill
- 6-foot step ladder
- Laser level or bubble level
- Hammer
- Tape measure
Materials
- 2 10-foot gutters
- 1 10-foot downspout
- 3 Downspout U-brackets
- 2 Gutter end caps
- 1 Downspout outlet
- 1 75-degree downspout elbow
- 1 Drainpipe extension
- Gutter sealant
- 8 Gutter hanging straps
- 1 box of Gutter hanging screws
Instructions
-
Mark the Gutter Slope on the Fascia
Access the fascia—the flat, horizontal board on which the gutter will be mounted. With the hammer, lightly tap in a nail at the highest point of the slope on each gutter run. Make sure that the nail is located high on the fascia so that the line you draw will not be obscured by the gutter. Attach the chalk snap line to the nail. Run the line with a vertical drop of 1/4-inch per 10 feet. Determine the slope with the tape measure and the level. Snap the line to create a slope line on the fascia. Remove the line and the nail.
-
Mark the Downspout Location on the Gutter
Place one section of gutter against the side of the house to see where the corner of the house will meet the gutter end. With the marker, mark the center point of the house’s corner board onto the gutter.
-
Attach the Downspout Drop Outlet to the Gutter
Place this section of gutter on a flat, solid surface. At the mark point on the gutter, use the marker to trace the opening for the downspout outlet. With the hammer, chisel a V-shape into the metal large enough to permit you to use the tin snips to cut out the rest. Seal the outlet with the gutter sealant.
-
Mount One Section of Gutter
With the cordless drill and gutter hanging screws, attach the drainpipe-side section of gutter to the house, following the chalk slope line.
-
Mount the Second Section of Gutter
As with the first (lower) section of gutter, follow the slope line for the adjoining higher section of gutter. Make sure that this section overlaps the first section and is sealed with the gutter sealant to prevent leaking. Mount this section in place with the hanging screws.
-
Add the Gutter End Caps
Snap the gutter end caps onto the gutter, one on each side.
-
Attach the Downspout and Extension
Screw the three U-shaped downspout brackets into place on the house’s corner board: top, center, and bottom. Fit the drainpipe into the drainpipe outlet. Screw the drainpipe into place. Add the drainpipe extension so that water is deposited far from the house’s foundation.
Tips For Installing Gutters
- Always work with a partner, not just for assistance but for safety reasons, as well.
- Use only gutter sealant, not caulk.
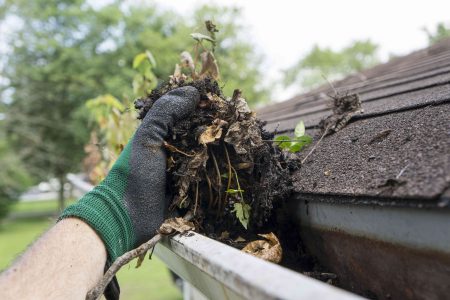
- Install gutter guards to prevent leaves and other debris from clogging the gutter.
When to Call a Professional
Seamless gutters can only be fabricated and installed by gutter installation companies. If you are pressed for time or doubt your ability to work confidently on ladders, call in a professional. Second-story gutter installation is usually best handled by professional gutter installation companies.
Read the full article here


