Beadboard is a type of wood paneling that has traditionally been used as wainscoting, but has recently seen a rise in popularity as a ceiling design option. This wood paneling has vertical grooves and small ridges known as beads where the planks interlock. There are also large beadboard sheets made of MDF or plywood, and PVC beadboard sheets, which can be a good choice for an outdoor project due to the high water resistance of the PVC material.
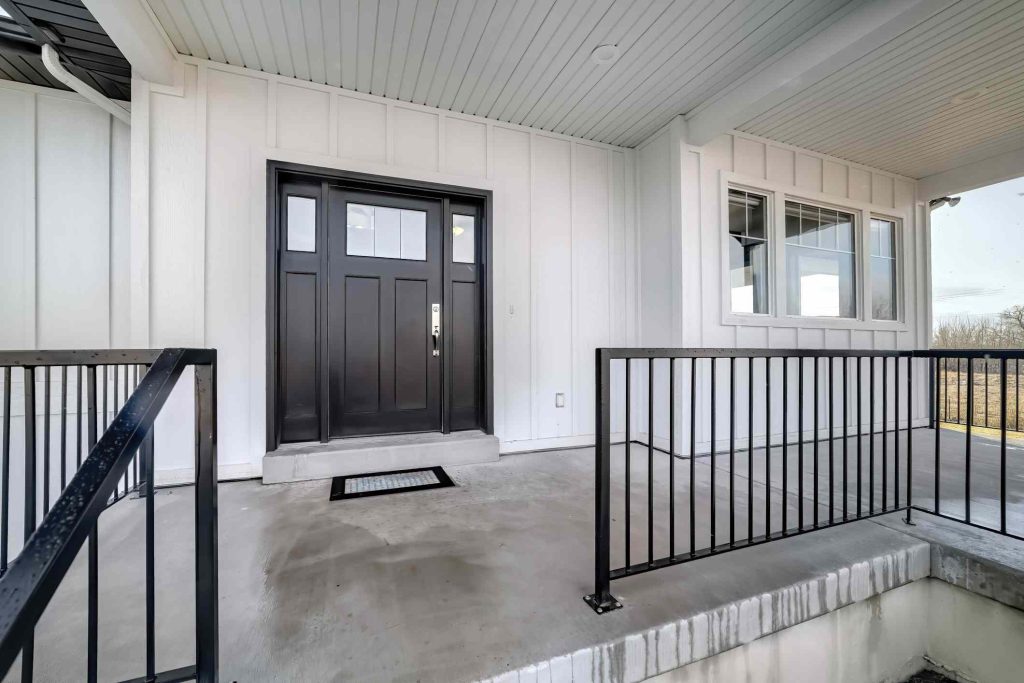
If your porch ceiling is scratched, stained, or simply boring, cover it up with an attractive beadboard porch ceiling.
Before You Begin
Head out to the porch and take measurements of the area of the ceiling. Use these measurements to determine the amount of beadboard to cover the ceiling, keeping in mind that there should be about a 1/4-inch expansion gap left around the perimeter of the ceiling.
When buying your materials, you should also pick up any additional materials, including brad nails, construction adhesive, and waterproof caulking. The caulking will be used to fill nail holes and seal any gaps to prevent moisture from seeping into the wood.
If the ceiling joists are currently exposed, install horizontal blocking between the studs about every two feet to increase the amount of surface area available for securing the beadboard. Alternately, you can put up a few sheets of plywood to cover the ceiling and acts as a support for the beadboard. However, if the joists are covered, you will need to use a stud finder to locate and mark the joist locations.
Safety Considerations
Beadboard installation involves the use of one or more saws, as well as a pneumatic nail gun. Before starting this project, make yourself familiar with these tools so that you can handle them properly without any incidents. Paint, stain, caulk, and construction adhesive should be used in a well-ventilated space to avoid inhaling chemical fumes.
Don’t start this job without putting on the appropriate personal protective equipment, including closed-toe shoes, long pants, a long-sleeve shirt, safety glasses, gloves, and a mask. It’s also a good idea to have at least one extra person to help hold the material. Otherwise, you will need to make and put up ceiling braces to support the ceiling material while they work.
What You’ll Need
Equipment / Tools
- Tape measure
- Drill
- Stud finder
- Level
- Miter saw or circular saw
- Table saw
- Jig saw
- Pneumatic brad nailer
- Caulking gun
- Paint brush
- Paint roller
Materials
- 2×4 planks
- Construction screws
- Beadboard
- Trim
- Construction adhesive
- Brad nails
- Paint
- Caulk
Instructions
How to Install a Beadboard Porch Ceiling
-
Locate and Mark the Ceiling Joists
If the ceiling is open, then the joists will be visible. You can cut and install horizontal blocking between the joists about every two feet to increase the available surface for securing the beadboard. Simply measure, cut, and fasten the horizontal blocking with a drill and construction screws.
If the ceiling is covered, then you can use a stud finder to locate the joists. Scan the surface of the ceiling, then use a pencil or painters tape to mark the location.
-
Measure and Cut the Beadboard
Beadboard comes in a variety of sizes and materials, including thin hardwood planks, 4-foot by 8-foot plywood panels, and broad PVC panels. Depending on the size and material used for this project, you may need to have a table saw to make long, straight cuts through large pieces of beadboard. Smaller strips of beadboard can typically be cut with a miter saw, circular saw, or jig saw.
Measure and mark the beadboard material at the desired length, then use a saw to cut the beadboard. If there are any fans, lights, or other fixtures installed in the porch ceiling, you will need to measure the location of these obstacles and cut holes in the beadboard material with a jig saw.
Additionally, if you don’t have a second person to help out, then you’ll need to build one or more T supports with scrap 2x4s to brace the ceiling.
-
Paint or Stain the Beadboard
When installing beadboard outside, it’s necessary to seal the wood with paint or stain. While you can choose to paint the ceiling after the initial installation, this could leave some areas of the beadboard exposed to moisture. Measure and cut the beadboard required for the project, then paint or stain the wood for the best results.
By painting or staining after the beadboard has been cut to size, this allows you to seal the cut ends and protect the beadboard from wood rot and mold growth. Also, the paint or stain will reduce the damage caused by exposure to U.V. radiation and severe temperature fluctuations.
Just keep in mind that you will need to touch up any nail holes with waterproof caulk and a bit of paint when the job is complete. Apply a coat of primer and one to two coats of paint to finish the ceiling. Some beadboard material comes pre-primed. If this is the case, then you do not need to prime the wood.
-
Align and Install the Beadboard
Broad, composite or PVC beadboard sheets can be installed similar to drywall or plywood. Apply construction adhesive to the back of the beadboard sheet, then secure it to the ceiling in the desired location.
While a second person or a T brace holds the sheet in position, use a brad nailer to drive nails through the beadboard and into the ceiling joists. Continue installing beadboard sheets until the ceiling is completely covered.
If the installation is using thin beadboard planks, then you will start by lining up the first board in one corner of the porch ceiling. The tongue side should be facing toward the center of the ceiling. Use a level to check that the board is straight, then secure the beadboard with construction adhesive and brad nails.
Line up the second board and slide the groove into the tongue of the first board. Secure the board with construction adhesive and brad nails, continuing this process until the entire ceiling is covered.
-
Cut and Install the Trim
Measure, cut, and install trim around the perimeter of the porch ceiling. Additionally, you can cover gaps between beadboard panels with strips of flat trim or with two-inch batten strips.
Simply measure, cut, and secure each strip of trim or batten strip using construction adhesive and brad nails. The goal is to create a uniform border for the ceiling, while covering the expansion gap and any seems between the beadboard paneling.
-
Seal Any Gaps
Apply caulk around the edges of the trim to prevent water from being absorbed into the gaps between the trim and the beadboard. If there are any ceiling fixtures, like lights or fans, seal the gaps around these fixtures to prevent moisture from seeping into the ceiling.
-
Can I use beadboard for a porch ceiling?
Beadboard paneling is an excellent option for a porch ceiling. It looks great and can be installed by a DIYer with woodworking experience over two to three days to update the porch aesthetic.
-
What is best to use for a porch ceiling?
The top option for a porch ceiling is plywood due to the flexibility and affordability of the material. However, beadboard is often installed over plywood to improve the appearance of the porch.
Read the full article here


