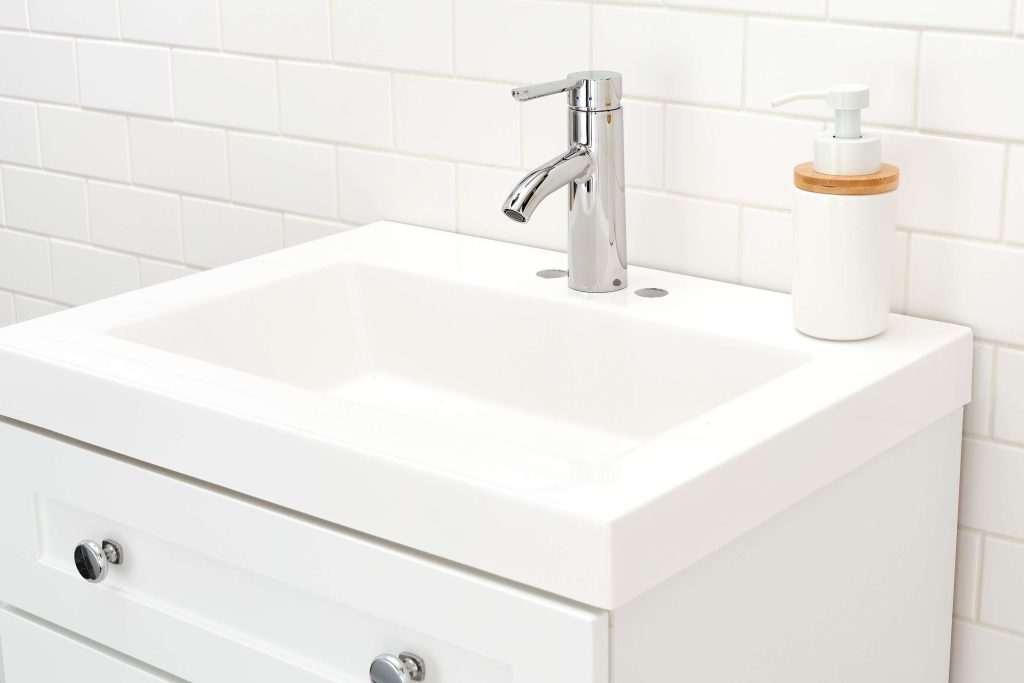
You don’t need to be a plumber to know how to replace a bathroom faucet. This simple and inexpensive bathroom upgrade can be done by most anyone in about 15 or 20 minutes. All it takes is a couple of wrenches to instantly transform your bathroom sink.
Before You Begin
Confirm that the new faucet will match the bathroom sink’s hole spacing configuration. Most bathroom faucets are either centerset, wideset, or single-hole configurations:
- Centerset faucet: A centerset faucet is compatible with a 3-hole sink and has handles that are 4 inches apart. The faucet, both handles, and sometimes a drain lift rod are all contained on a single base.
- Wideset faucet: A wideset faucet is compatible with a 3-hole sink. Its two handles are 8 inches apart and are detached. If there is a drain lift rod, it will be attached to the back of the faucet.
- Single-hole faucet: A single-hole faucet fits into a sink or countertop with a single faucet mounting hole. Many single-hole faucets come with an adapter deck plate to allow installation into a 3-hole centerset configuration.
What You’ll Need
Equipment / Tools
- Channel lock pliers
- Locking pliers
- Basin wrench (optional)
- Flashlight
Materials
- Bathroom faucet
- Silicone caulk
Instructions
How to Replace a Bathroom Sink Faucet
-
Shut Off the Water
Clear out all items from below the sink. Shut off the hot and cold sink water supply lines from under the sink. Turn the shut-off valve handles located at the base of the lines clockwise until they are hand-tight.
-
Disconnect the Water Supply Lines
Disconnect the water supply lines from the plumbing stub-outs coming out of the wall. Turn the nuts counter-clockwise with channel lock or locking pliers. Before disconnecting, place a low container like a kitchen mixing bowl under the supply lines to catch water spilling out of the lines.
-
Position Yourself Under the Sink
Lay on your back under the sink. Have a light source such as an adjustable flashlight that points upward. Make sure your tools are within arm’s reach. Soften the edge of vanity sink cabinet with a towel for improved comfort.
-
Remove Water Supply Lines From the Faucet
Depending on the faucet model you are removing, you may have to disconnect and remove the existing water supply lines from under the faucet. Many faucet models include integrated supply lines that don’t require removal to swap the faucet.
If removal is necessary, use one of the pliers or the basin wrench to unscrew the supply lines from the faucet connection points by turning the fitting counterclockwise.
-
Remove the Faucet Locking Nuts
From below, unscrew the two large nuts that hold the faucet into place. Carefully use either type of pliers to loosen the nuts and then unscrew them by hand. Newer bathroom faucets may have plastic mounting nuts that are turned by hand.
-
Remove the Old Faucet and Prepare the New One
From above, remove the faucet and its gasket. Clean any soap gunk or debris to help the new faucet rest firmly and evenly on the new spot.
Slip the plastic or rubber gasket onto the bottom of the new faucet’s base (for centerset faucets). Make sure that the gasket is facing the correct direction up or down.
-
Mount the New Faucet and Attach Faucet Locking Nuts
Place the new faucet, including the gasket, on the sink. If the faucet is uneven on the sink, add silicone caulk under the gasket.
From below, the two large locking nuts in place. Tighten until the nuts are hand-tight.
Warning
Avoid excessive torque with the wrench as this may crack the sink or countertop.
-
Attach the Water Supply Lines to the Faucet and Stub Outs
Screw the water supply lines onto faucet’s water supply threads by hand as far as possible, then switch to pliers or the basin wrench. Tighten firmly to avoid leaks.
Attach the ends of the water supply lines to the pipes coming out of the wall. As before, turn by hand as far as possible, then switch to turning with the channel lock or locking pliers.
Tip
If the pipe rotates, hold the pipe in place with the locking pliers and turn the water supply line nut with the other set of pliers.
-
Turn on the Water and Test
Slowly turn the water supply back on. Open up both sides of the faucet slowly and watch for leaks both above and below.
When to Use PFTE Tape
There’s often confusion about when to use and when not to use PFTE (thread seal tape) during faucet installation. While PFTE, also known as Teflon tape, is often useful for threaded plumbing fittings, faucet installation rarely requires its use unless the project includes valve replacement, as well.
Only use PTFE tape (or pipe dope) on plumbing fittings that are not compression fittings or that do not contain a rubber seal within them. It’s necessary to use PTFE tape when replacing supply line valves but it’s not necessary while using the tape to connect the water supply lines to the valve or faucet.
Faucet supply lines contain rubber seals on each end to ensure leaking doesn’t occur when the fitting is firmly seated. Using PTFE tape on these connections can put unnecessary stress on the fitting and even cause problems.
Read the full article here


