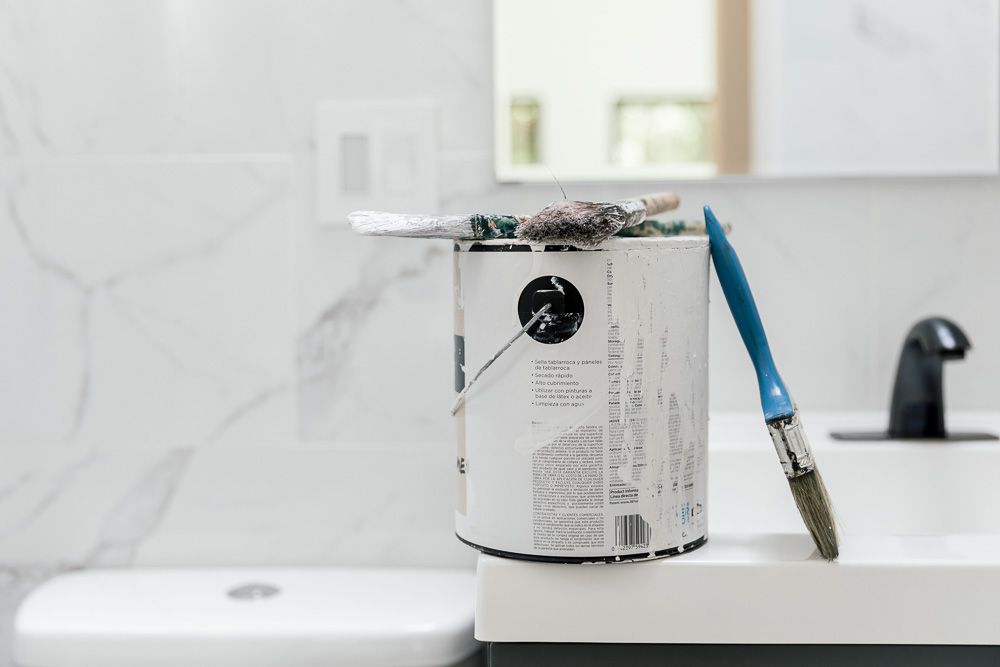
Painting a family room or bedroom is a familiar project to most do-it-yourselfers. With minimum effort, you can get a fantastic payoff. But painting the bathroom is a bit different than painting other areas of the home. Bathrooms are small and full of water from various sources, and they receive lots of heavy use. For beautiful results, it is important to pay special attention to all aspects of bathroom painting, from surface preparation and color choices to the process of painting and final touches.
What You’ll Need
Equipment / Tools
- 1 Paint roller
- 1 2-inch sash brush
- 1 Paint tray and liner
- 1 Flathead screwdriver
- 1 Phillips screwdriver
- Plastic sheeting
- 1 Roller cover
Materials
- Interior latex paint
- 1 Roll of painter’s tape
Instructions
-
Choose the Best Paint for the Bathroom
Bathrooms are wet places and water will eventually get on your paint, no matter how hard you try to avoid this. Some paint manufacturers sell what they call bathroom paint: A paint that has both mold-inhibiting agents and a better surface for resisting moisture.
Even if you don’t want to buy special bathroom paint, you may want to spend a little bit more on a quality brand of paint. Some of the cheaper paints have the same pigment makeup as the more expensive paints, but they have fewer solids. Solids are the components that dry to form the protective acrylic-latex layer on your wall. Often, it pays to buy better (and often more expensive) paints because they have more solids and thus greater durability.
The next time you look at shower tile, notice that the surface of the tile is glossy. Higher gloss sheens tend to do a better job of repelling moisture and debris than flatter sheens, but they do highlight imperfections in the wall. If your wall is rough in spots or has marks you’d like to hide, consider an eggshell finish, which can be wiped clean.
-
Calculate How Much Paint You Need
Calculate the amount of paint needed for your room. The last thing you want to do is have to run to the store in the middle of a project because you ran out of paint.
-
Clean All Surfaces to Be Painted
Soap scum and other embedded substances on surfaces can seriously interfere with your paint job. In other areas of the house, you can sometimes slide by without cleaning the walls. In particular, dining rooms and bedrooms usually just need a light dusting.
But in the bathroom, it is crucial to clean the walls. Soap scum around the bathtub and shower surrounds can cause your nice paint job to peel off. And that’s if you can even get the paint to stick in the first place. Trisodium phosphate, or TSP, might be considered a miracle cleaning product because it is so inexpensive, cleans off the gunk, and won’t compromise your paint job.
-
Remove the Toilet Tank
It is exceedingly difficult to paint around toilet tanks and do a good job of it. Specifically, the problem is the narrow crack between the tank and the wall. The space is so small, you have to meticulously apply painter’s masking film and painter’s tape around the tank, then daub the brush repeatedly in that area to get a solid color. Instead of working around the obstruction, the best option is to remove the obstruction.
Removing the toilet tank may sound messy and difficult, but it’s not. Toilets typically come in two sections: the top tank and the bowl (or base). The messy section is the base, and that section will not be removed. Turn off the water supply at the shutoff valve on the wall, flush the toilet to expel all water, then remove the tank with a couple of old towels on the floor to catch spills.
-
Remove All Other Obstructions
Remove switch and outlet plates, mirrors, bathroom exhaust vent grilles, towel racks, and any other items that you can remove relatively easily.
-
Cover Areas That Will Not Be Painted
Tape off the ceiling, trim, bathtub surround, backsplash, and other areas that will not be painted. Drape drop cloths over the bathroom vanity, sink, mirror, and flooring.
-
Cut in the Paint
With the 2-inch sash brush, paint up against the painter’s tape in all areas. Keep the brush fairly dry when painting against the tape to avoid drips.
-
Paint With the Roller
Fit the roller cover on the roller frame. Open the paint can and pour paint into the bottom reservoir of the paint tray. Generously dip the roller cover in the paint, then thoroughly roll it out on the upper area of the paint tray.
Paint a square area about 2 by 2 feet, using angled strokes that roughly make a “W” on the wall, then fill in the blank areas of the W with a series of roughly parallel passes of the roller. Move to an adjacent area, making sure that you work from the wet edge of the preceding section.
-
Paint a Second Coat
Wait at least two hours for the paint to dry. In cool or wet conditions, the paint will take longer to dry.
Repeat the earlier painting process. Begin by cutting in the paint, then move to rolling out the walls.
-
Clean and Finish
Remove the painter’s tape after the paint has dried. Remove drop cloths, properly disposing of any plastic sheeting. Replace faceplates, the toilet tank, towel bars, and any other hardware and accessories that you removed earlier.
Read the full article here


