Insulation is important for keeping any home warm while controlling energy costs. One of the most important ways to keep your home warm is by insulating cinder block or concrete crawl space walls and sealing the floor. Correct crawl space insulation can prevent your crawl space from becoming a moist environment that grows and harbors mold and mildew. Controlling crawl space temperature and moisture is a dual process that works toward a common goal: a temperate lower area that will keep upper floors warm, while your home’s foundation remains in sound condition.
Crawl Space Insulation Basics
The proper way for homeowners to insulate a crawl space is to insulate the walls and lay a vapor barrier on the ground.
Spray foam may be used by professionals, but most do-it-yourselfers lack the equipment or experience for working with spray foam. Instead, for do-it-yourselfers, the easiest type of insulation to use is rigid foam on the walls.
With a plastic vapor barrier on the floor, the two materials are joined with tape. It is important to seal any gaps or cracks in the walls before installing the insulation to ensure that it is effective.
Vapor barrier in crawl spaces is typically a thick plastic sheet that is used to prevent moisture from entering the crawl space and to help control humidity levels. The plastic is a 6 mil or thicker reinforced polyethylene plastic sheeting.
Warning
Stapling fiberglass batts between joists to the underside of your home’s floor may help in the very short term. But moisture eventually builds in the crawl space and grows on this highly porous surface. Moisture-laden fiberglass will sag and fall. Adding fiberglass batts to open floor joists is an outdated method that is not just ineffective but regressive, as well.
With crawl space insulation, the idea is to condition the crawl space, much in the same way that you might condition other parts of your home. Rather than trying to cut off the crawl space from the conditioned upper floors, you should bring the crawl space nearer to the upper floor’s temperature by leaving off the underfloor insulation, by insulating the walls and sealing the floor against outside moisture and temperatures.
-
Keeps pests out of home
-
Reduces moisture
-
Conserves energy
-
Adds dry storage space if you can access insulated space
-
Adds resale value
-
Expensive project
-
Increases home maintenance
-
Reduces air circulation in home
-
Potential loss of storage space if access is prohibited by insulation
-
Labor-intensive
Rigid Foam Insulation Basics
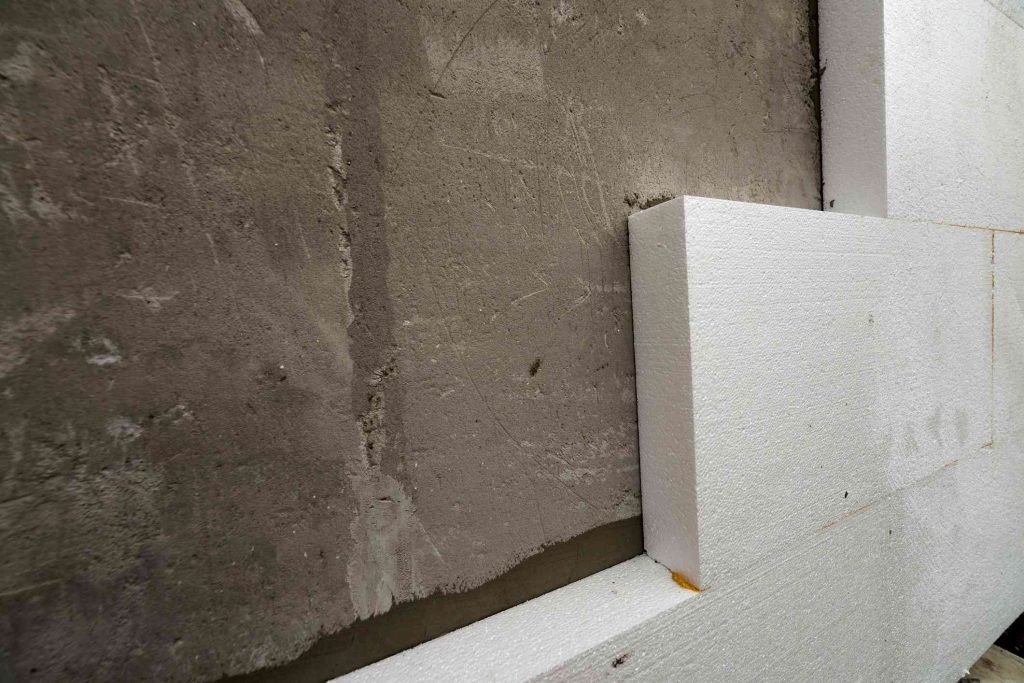
Rigid foam insulation is a dense, stiff material made from polystyrene, polyurethane, or polyisocyanurate, and is known for its high insulation value and durability. It is the favored insulation for crawl space inside walls. Rigid foam insulation works for any type of masonry wall: concrete, block, brick, and even stone.
One of the main benefits of rigid foam insulation is its high insulation value, which means it is able to provide a high level of thermal resistance with a relatively small thickness. This makes it an efficient choice for many applications, especially in basement walls.
Rigid foam insulation is easy to install, as it can be cut to fit around electrical wiring and other obstacles. It is also resistant to moisture, pests, and mold, which makes it a durable choice for many applications.
Crawl Space Ventilation
For this type of insulation system, crawl space ventilation to the exterior is sealed off. All avenues to the outside are shut off or sealed with caulk.
An airtight, insulated crawl space will make your house, as a whole, more energy-efficient by keeping your floors warmer in cool months and thus reducing your heating bills. During warm months, this process works in reverse by keeping your floors cooler and reducing the load on your air conditioner.
What You’ll Need
Equipment / Tools
- Caulking gun
- Utility knife
- Rake and shovel
- Flashlight
- Fine-toothed saw
Materials
- Expanded polystyrene foam board
- Construction adhesive
- Latex adhesive for foam board
- Silicone caulk
- 6-mil minimum thickness clear polyethylene plastic
- Double-sided butyl tape
- Poly PVC tape
- Foam insulation
Instructions
Instructions
-
Prevent Moisture From Entering the Crawl Space
Assess your crawl space and locate pooled water or any type of moisture that collects in that area. Redirect downspouts that may be forcing water alongside the foundation walls. With a shovel and rake, regrade soil banked up against the outside of the house, so that water moves away from the structure.
-
Look at Interior Sources of Moisture
Water can also come from within the house. Inside the crawl space, shine a flashlight around the underside of the house and look for water dripping down. Look at pipes running through or within joists. Pay special attention to areas of prevalent moisture on the floor above: dishwashers, showers, bathtubs, and sinks.
-
Seal All Crawl Space Doors and Vents to the Outside
On the outside of the home, seal up any vents, doors, or hatches that open into the crawl space. Load up the caulking gun with exterior-grade caulk and insert caulk into cracks and holes.
-
Seal Rim Joists and Sills
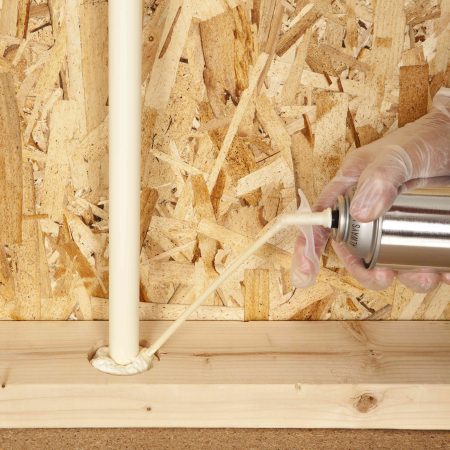
Go inside the crawl space during the day. Turn off the flashlight briefly and examine rim joists and sill areas for outside light shining through. With the light back on, seal up these cracks with the silicone caulk. For large cracks, use low-expansion foam insulation.
-
Insulate the Crawl Space Walls
Cut rigid foam pieces to size with the saw and attach the pieces to the inside crawl space walls with the latex adhesive. Aim for as few seams as possible by installing large sheets of foam. Seal seams between the boards with PVC tape.
-
Lay the Vapor Barrier on the Ground
Lay the vapor barrier over the entire crawl space ground area. Make cut-outs for every protrusion such as piers and posts. Run the vapor barrier up against these protrusions and seal them tightly with the butyl tape. Seal seams between separate vapor barrier sheets.
-
Seal the Vapor Barrier to the Wall Insulation
Conclude by running the vapor barrier about 12 inches up the insulated walls and taping the edges to the wall insulation.
-
Should you encapsulate the crawl space?
Not every crawl space should be insulated or encapsulated, and a crawl space or foundation specialist can help you decide. In addition, insulation (which helps warm the rest of the house by sealing air leaks) differs from encapsulation (which handles ground moisture). If you live in a humid area or flood zone, encapsulation may not be a good idea. For example, if you see large pools of water sitting in your crawl space, closing up the space will trap the moisture, causing more problems such as mold or structural rot. If you don’t live in a humid region or flood zone but see standing water, mitigate the water before encapsulating the space.
-
How much does it cost to have a crawl space insulated by professionals?
Depending on how big—and most specifically how tall—your crawl space is, it can cost several thousand dollars for a foundation servicing company to insulate it. Encapsulation is more costly.
-
Should you put plastic over insulation in a crawl space?
The foam board for the walls is typically considered a vapor barrier, as well. But if you prefer a more aesthetic look, you can put a vapor barrier over the foam board, as well. Don’t put a vapor barrier under the foam board, however, because it can become damaged or pierced when installing the foam board over it.
When to Call a Professional
While insulating a crawl space is not complicated, it is a labor-intensive, time-consuming project if you choose to do this yourself. The project can be especially difficult due to limited access to the crawl space.
For this reason alone, many homeowners choose to hire an insulation company or a water infiltration mitigation company to make the repairs.
Read the full article here


