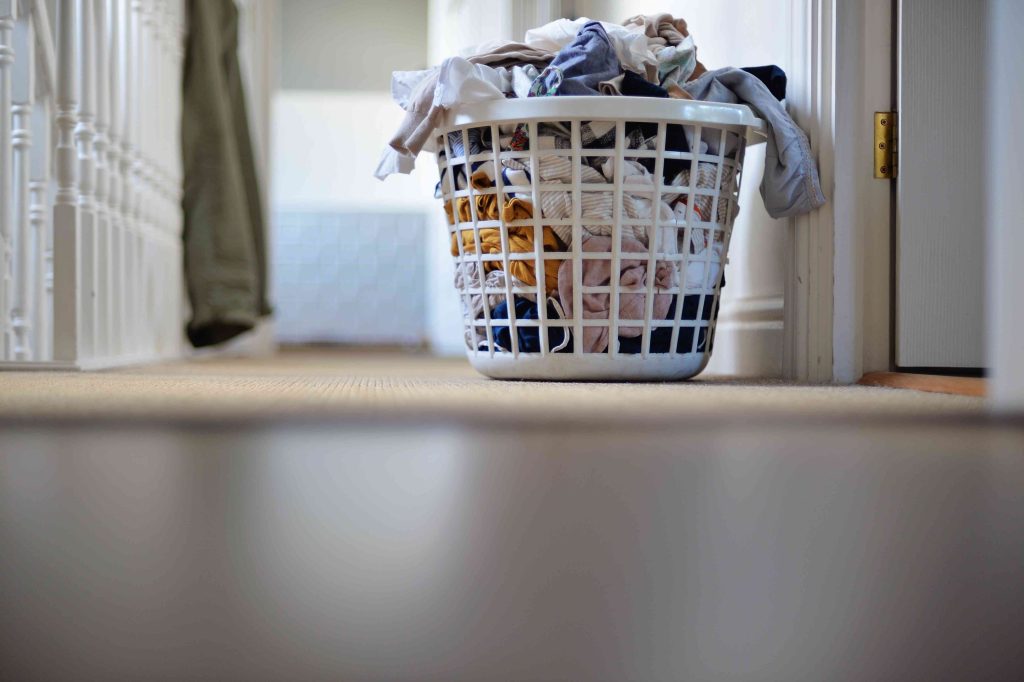
Doing laundry is just another of life’s chores. So, if you have a way to make laundry day easier, less strenuous, and even safer, you just might leap at the opportunity.
A laundry chute is a great convenience in any home, especially in multi-level homes where carrying bins downstairs can be a hazard. Having a chute that whisks dirty laundry downstairs or laterally means less work when doing laundry. Plus, you’ll have a tidier living space on days you’re not doing laundry.
Types of Laundry Chutes
Lateral Laundry Chute (Room to Room)
A lateral laundry chute moves the laundry sideways, from room to room.
A lateral chute is located on a wall shared with the laundry room. The laundry passes sideways through an access door (possibly placed in a closet), ending up in a basket or bin on the other side of the wall.
Multi-Story Laundry Chute (Floor to Floor)
A multi-story laundry chute passes laundry vertically from one floor to another floor below it.
An in-wall chute drops laundry through the wall itself. A metal heating duct 3 1/4-inches thick fits in the wall cavity for smoother movement of the clothing.
In-wall chutes are sleek, taking up little space and easily fitting into any room. But the narrow chute means that larger clothing and bedding will not pass through the chute.
Where to Locate a Laundry Chute
The laundry chute should be above or adjacent to the laundry room. The chute should be in or against an interior wall that runs parallel to the floor joists.
A laundry chute located in a hallway is a central, communal location that allows multiple residents to use it. A laundry chute in a bedroom is more private, intended mostly for those who use the bedroom.
Best Time to Install a Laundry Chute
Installing a laundry chute requires you to cut into the wall or flooring. If you’re substantially remodeling bedrooms or building a laundry room, it’s best to add the laundry chute during the framing phase—while wall studs are open and exposed, but before the drywall has been installed.
Codes and Permitting
A building permit may be required to install a laundry chute. Consult with your local building authority for code requirements and permitting. Section 713 of the International Building Code (IBC) requires linen chutes to have 1-hour fire-resistance-rated construction and all opening protectives (access doors) also to have 1-hour fire resistance, among other requirements.
Safety Considerations
If you have small children, a laundry chute can be unsafe. Though you can take precautions to keep your children as safe as possible, the novelty of a laundry chute can motivate children to find ways to circumvent your safety precautions.
If you do need to take precautions for children, take a cue from the staircase building code, which specifies minimum guardrail height for landings. Place your access door no lower than 36 inches above the floor. Using a child-safe lock for the access door is another safety precaution.
What You’ll Need
Equipment / Tools
- Tape measure
- Bubble level
- Pencil
- Hammer
- Power nailer
- Cordless drill
- Drywall jab saw
- Reciprocating saw
- Electric miter saw
- Electronic stud finder
- Magnetic stud finder
Materials
Lateral Laundry Chute
- 1 1-inch by 12-inch by 8-foot white primed finger-joint pine board
- 1 18-inch by 22-inch white cabinet door
- 2-inch strap hinges, pair
- Cabinet door knob
- 6 1 3/4-inch bugle head wood screws
Multi-Story In-Wall Laundry Chute
- 2 14-inch by 3 1/4-inch by 36-inch galvanized wall stack ducts
- 2 14-inch by 3 1/4-inch by 14-inch galvanized 90-degree elbows
- 4 1/4-inch plywood spacer blocks, each 3 1/2 inches by 6 inches
- 1-inch by 2-inch by 8-foot white wood trim board
- 18-inch by 18-inch white cabinet door
- 2-inch narrow utility hinges
- Cabinet door knob
- Duct tape
- Drywall finishing materials
- 1/2-inch pan-head screws
Instructions
How to Build a Lateral Laundry Chute
-
Shut off Power
At the electric service panel, shut off all power to the area where you will be working.
-
Locate Studs
Use the stud finder to locate two adjacent wall studs. Mark them with the pencil.
-
Cut Hole in Drywall
With the drywall jab saw, cut a square in the wall 14 1/2 inches wide by 21 1/2 inches high. The sides of the square must be parallel with the inner edges of the two studs.
-
Cut Drywall on Other Side
Cut the drywall on the laundry room side to precisely match the first hole.
-
Cut Wood
- 3 boards at 14 1/2 inches each
- 2 boards at 20 inches each
Rip one of the 14 1/2-inch boards from its factory 11 1/4-inch width down to 4 inches.
-
Build Chute
Use the nailer and wood glue to build the chute. With all boards, the factory 11 1/4 board width will extend through the hole in the wall.
- The ripped board (11 1/4 inches by 4 inches) on the bottom.
- The two 20-inch boards as vertical sides that rest on the ripped board
- The full-width 14 1/2-inch board resting on top of the two 20-inch sides
Run a bead of wood glue on each piece, then nail together. Clamp with the bar clamp and let the glue cure for at least two hours.
-
Install Back Panel
The remaining 14 1/2 inch board will be a back panel to divert clothes downward and into the bin. Nail this to the back of the chute.
-
Install Chute
Slide the chute into the wall opening. The short 4-inch board goes on the bottom. Have an assistant on the laundry room side hold the chute level while holding the bubble level.
Use the 1 3/4-inch screws to fasten the chute into the studs through the side walls of the chute. Use three screws per side. Countersink the screws to prevent clothes from snagging on them.
-
Attach Access Door
Attach the cabinet door across the face of the opening. Place the strap hinges at the top of the door, so that the door flaps upward. Attach the cabinet knob to the bottom of the door.
How to Build a Multi-Story in-Wall Laundry Chute
-
Shut off Power
Turn off power at the electric service panel to any circuits running to both the upper and lower floor areas.
-
Remove Baseboard
With a prybar, carefully remove the baseboard.
-
Locate Studs
Find two adjacent studs with the stud finder. Make a horizontal mark at 40 inches above floor level, intersecting both of the studs.
-
Cut Hole in Drywall
Use the jab saw or reciprocating saw to carefully cut a rectangle 14 1/2 inches wide by 40 inches high. The bottom of the rectangle should be at floor height. Make sure that the vertical sides of the rectangle are parallel to the inner edges of the studs.
-
Build Chute
Attach the two 36-inch galvanized wall stack ducts end to end, securing them with duct tape. Attach one galvanized 90-degree elbow at one end. Attach the other elbow at the other end of the wall stack ducts. Make sure that the second elbow is facing in the correct direction so that clothes will deposit into the laundry room.
-
Cut Floor Plate
With the reciprocating saw, cut the floor base plate two-by-four from stud to stud. Remove the excess board.
-
Attach Blocking
On the insides of the two studs, at the 40-inch to 46-inch high level, nail two of the plywood spacer blocks into place.
-
Fit Chute Into Hole
From the top-down, slide the chute through the hole in the wall.
-
Attach Chute
Drive 1/2-inch pan-head screws through the sides of the 90-degree duct elbow, into the plywood spacer blocks.
-
Cut Hole in Laundry Room Wall
Locate the edges of the 90-degree elbow hidden in the laundry room wall with the magnetic stud finder markers. Based on those markers, sketch out the dimensions of the elbow opening. Use the jab saw to carefully cut out the drywall.
-
Attach Chute at Bottom
Fit the two remaining 1/4-inch plywood spacers between the chute and the studs. Drive 1/2-inch pan-head screws into the metal, through the spacers, and into the studs.
-
Trim Bottom and Top of Chute
On the electric miter saw, cut four pieces of trim board to frame the bottom chute opening. Cut the ends at 45 degrees. Repeat for the top of the chute.
-
Attach Access Door
At the top of the chute, attach the 18-inch by 18-inch white cabinet door across the face of the trim with the 2-inch narrow utility hinges. Position the hinges at the top so that the door swings upward. The door will slightly overlap the trim. Attach the cabinet knob.
-
Repair Drywall
Reuse the 14 1/2 inch by 40-inch section of drywall to repair the top of the laundry chute below the opening. Tape, mud, and sand the drywall compound and paint to match the wall.
When to Call a Professional
A carpenter or contractor can design and build either type of laundry chute if you feel uncomfortable with cutting into the walls and floor. Larger, air-powered laundry chute systems are available, too, that move laundry from individual rooms to a central collection point. These will require professional installation.
Read the full article here


