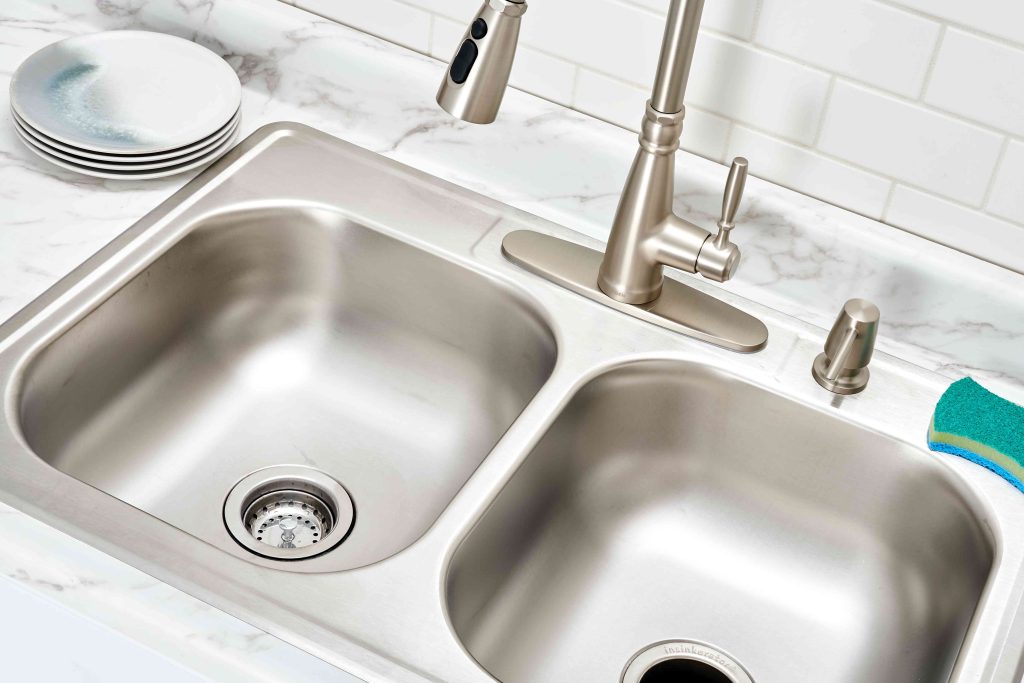
Upgrading from a single-basin sink to a double-basin sink is a great choice to increase the amount of space for washing dishes and preparing meals for adding to the getting-ready space in a bathroom, but the plumbing configuration is slightly different for this type of sink. Instead of having the tailpiece from the single sink connect directly to the P-trap drain, each sink in a double-basin setup has a tailpiece that connects to a sanitary tee, which in turn connects to the P-trap drain. (Though you can also use a combined swing tee trap.) This configuration directs the flow of waste from both sinks into a single drainage line.
Beyond this major difference in the plumbing configuration, single-basin and double-basin sinks follow the same basic installation process. Even the hot and cold water pipes remain the same, because a double sink still uses just one faucet. Intermediate-level DIYers should feel comfortable tackling this installation process with the straightforward steps below.
Before You Begin
You cannot install a double sink unless you have the necessary space, so make sure to measure the area, compare it to the double sink that you want to install, and cut holes that allow all sides of the double sink to sit on the counter. The sink basins should fit through the holes, while the edges sit on the sides of the counter to support the weight of the sink. The size of the holes remains the same, even if you are installing an undermount sink (though undermount installation will be much more challenging).
It’s also important to turn off the water using the hot and cold isolation valves under the sink so that the faucet can be installed. If the current plumbing does not have isolation valves, then you will need to turn off the water at the main shut-off valve and drain the water lines in the home before starting.
What You’ll Need
Equipment / Tools
- Tape measure
- Hacksaw
- PVC pipe cutter
- Channel locks
- Marker
- Caulking gun
- Screwdriver
Materials
- Double Sink
- Compression nuts
- Washers
- Plumber’s putty or silicone caulk
- Sanitary tee
- PVC pipe
- Teflon tape or silicone sealant
- Kitchen drain trap kit
- Sink drain and strainer assembly
- Faucet
Instructions
-
Install Sink Strainers
Sink basket strainers consist of the drain and strainer basket that sits in the bottom of the sink. They can be installed after the sink is in place, but it’s much easier to install the strainers before the sink is secured. Apply plumber’s putty or silicone caulk to the underside of the basket strainer, then lower it into the drain at the bottom of the sink. The edge of the basket strainer will sit comfortably in the drainage hole while the silicone caulk or plumber’s putty forms a watertight seal to prevent leaks.
Tighten the strainer nut from the bottom to secure the strainer to the sink and prevent it from being pulled out or moved around. Repeat this process with the second sink and allow the putty or silicone caulk a few minutes to properly set.
-
Put the Sink in Place
Depending on whether you are installing a drop-in or undermount sink, you will need to apply plumber’s putty or caulk to the top of the countertop or to the bottom of the countertop around the edges of the sink holes before putting the sink in place.
If you are installing a drop-in sink, the edges of the sink should sit on top of the counter, holding the weight of the sink. Some drop-in sinks may also have clips to secure the sink to the bottom of the countertop. Use a screwdriver to secure these clips.
If you are installing an undermount sink, the edges of the sink need to be secured to the underside of the countertop. This is accomplished with heavy-duty clips, adhesive, and the plumber’s putty or silicone caulk. Have a helper hold the sink in place while you fasten the heavy-duty clips to secure the sink.
-
Measure the Drain Outlet Height
With the new double sink securely fitted to the countertop, you should have a good idea of how the drain outlet pipe lines up with the basket strainers. The drain outlet pipe is the drainage pipe that runs into the wall and carries the waste from the sink to the main drainage pipe.
Use a tape measure to determine the height of the drain outlet pipe. It needs to be high enough from the ground for the installation of a P-trap, but should also be low enough to accommodate the space required for the drain tailpieces and the sanitary tee to connect to the P-trap.
If the pipe needs to be moved, then it’s advised to contact a plumber to make this adjustment because the wall will need to be opened up to cut into the drain lines and reinstall the drain outlet pipe at a suitable height. This isn’t a repair that is typically handled by a DIYer.
-
Connect the Drain Tailpieces
If the drain outlet height isn’t too high or too low, then you can proceed to measure the drain tailpieces so that they extend down to a similar height for both sinks. Use a marker to indicate the desired length, then cut the tailpieces with a hacksaw or PVC cutter.
Connect the drain tailpieces to the basket strainers with slip-on compression nuts. These plastic nuts form a watertight seal around the pipes and also keep the drain tailpieces and the basket strainers securely connected. Tighten the nuts using your channel locks, but be sure not to overtighten them, as the plastic compression fittings are vulnerable to cracking and breaking.
-
Add in the Sanitary Tee
Install the sanitary tee either in line with one sink or in the middle of both sinks. If you install it in line with one sink, then the drain tailpiece from the first sink will run directly down into the tee and connect with a compression nut. The drain tailpiece from the second sink will need to connect to a 90-degree sanitary fitting with a compression nut and then connect to a horizontal piece of PVC pipe with another compression nut before this horizontal piece can connect to the sanitary tee with a compression nut to complete the longer run.
If you choose to install the tee in the middle of both sinks, then they will have the same basic configuration. Connect the drain tailpiece to a 90-degree sanitary fitting, then connect to a horizontal piece of PVC pipe, before connecting the horizontal pipe to the sanitary tee in the middle of the sinks. Repeat this process for the second sink.
-
Install the Drain Trap
After the sanitary tee, you will need to install the drain trap. This portion of the sink plumbing system is typically referred to as the P-trap and it consists of a U-shaped fitting and a J-shaped fitting. Connect the sanitary tee to the U-shaped trap and then connect the U-shaped trap to the J-shaped trap. The tail-end of the J-shaped trap completes the drainage line by connecting to the drain outlet pipe. It should be noted that all connections should be completed with slip-on compression nuts so that the drain pipes can be disassembled easily in the case of a clog.
-
Mount the Faucet
Faucets typically come with a line for the hot water and a line for the cold water, even if both hot and cold are controlled by a single faucet, rather than a double-handled faucet.
Thread the faucet mounting bracket and the hot and cold water lines down through the countertop and use a set of channel locks to tighten the nuts on the bottom of the faucet in order to secure it to the counter.
-
Connect the Hot and Cold Water Lines
Locate the hot and cold water lines under the sink and connect them to the corresponding hot and cold water pipes. The water lines should thread easily onto the water pipes, but you can tighten them up with your channel locks.
-
Check for Leaks
When the water lines are secure, slowly turn on the hot and cold isolation valves and allow water to flow into the faucet. Open the faucet to release any air from the lines and let the water fall into the newly installed sink. Check every component of the double sink, including the drain lines, water line, P-trap, sanitary tee, 90-degree sanitary fittings, basket strainers, and even the edges of the sink to make sure that there are no leaks.
Read the full article here


