Solder is a metal or metallic alloy used, when melted, to join metallic surfaces [source: Merriam-Webster]. Soldering works by capillary action. When a pipe and a fitting are heated, the soldering material is touched to the joint. The heat melts the soldering material and by capillary action, the material is sucked into the joint, sealing it. Once the soldering material cools, an air tight joint is formed, sealing the tube and the fitting together. When soldering copper, you must make sure the soldering material has a lower melting point than copper, or the tube will melt before the solder does [source: Solder Wire].
Here’s what you’ll need to solder copper:
- Propane torch
- Soldering wire
- Sandpaper
- Copper pipe
- Flux
- Copper fitting
Here’s what you do:
- Cut the pipe Cut the pipe to the correct length. Since copper is a soft metal, you can cut it with a tube cutter. If the pipe is a larger one, you may need a hacksaw.
- Clean the pipe It’s important to clean the pipe so that it’s rust-free. Rub the sand paper around the end of the pipe and the inside of the pipe.
- Apply flux Apply a liberal coat of flux (liquid metal) to the inside of the fitting that the tube will be soldered to and to the outside of the tubing. Place the fitting on the end of the tubing and rotate it so that the flux spreads evenly.
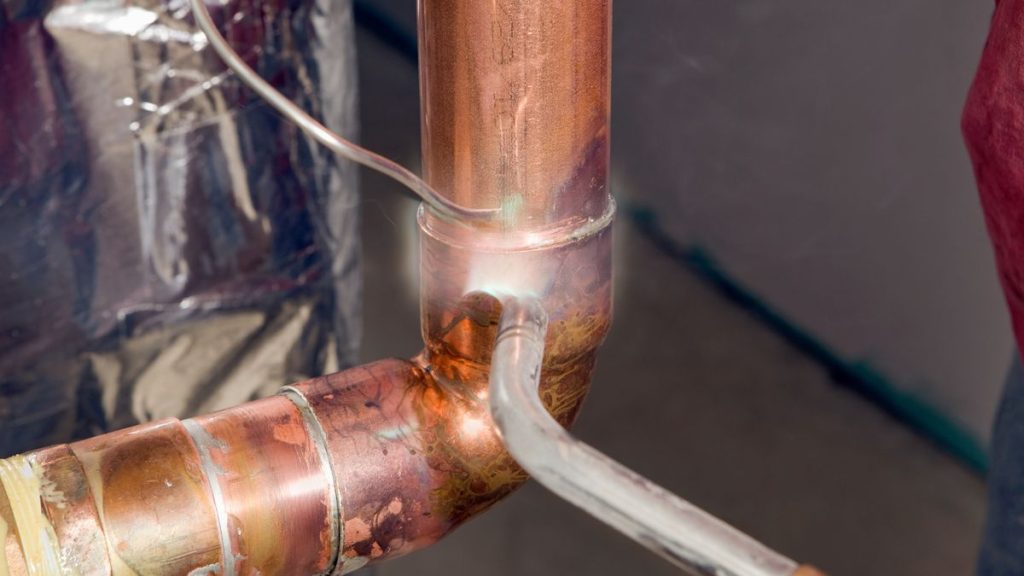
- Heat and solder the tubing Leave the fitting on the copper tubing. Heat the joint with direct heat from the propane torch for about 20 seconds. When you think the joint has reached the right temperature, touch the soldering wire to the joint. The solder will melt and will be sucked into the joint between the tubing and the fitting. When you see the melted solder pouring out and dripping, you know it’s time to stop.
- Wipe the joint Let the joint cool down a bit. Fold a wet rag a few times so you don’t burn your hand, and wipe any excess solder off the joint while the joint’s still a bit hot. Check that the joint is in tightly [source: Copper].
Read the full article here


