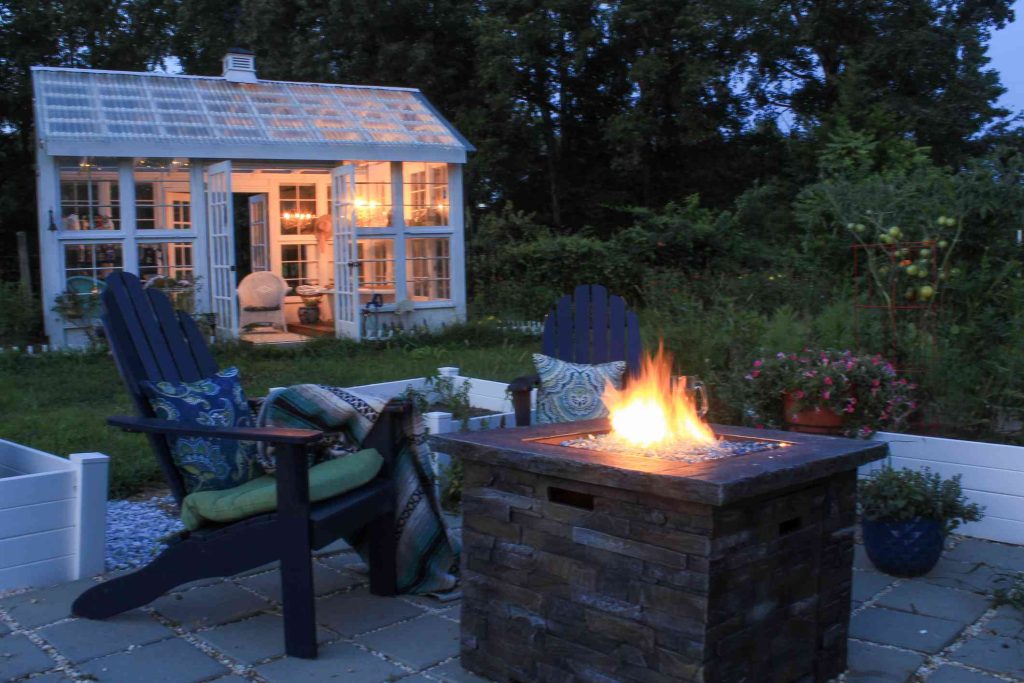
Fire is always a focal point, so this propane fire pit will be the center of attention. Clean-burning propane means instant ignition and nothing to clean up afterward. Large, concrete-style propane fire pits from manufacturers cost thousands. Make your own DIY propane fire pit for about $500 and save a considerable amount of money.
DIY Propane Fire Pit Components
This propane fire pit is 55 inches long, 28 inches wide, and 24 inches high, a size comparable to store-bought models. The propane tank is tucked away within the base. The tank is accessed at one end through a wood door.
- Base: A box made of two-by-fours is faced with cement backer board and finished with thinset mortar for a faux concrete look.
- Fire burner kit: A fire burner kit is an all-in-one package that provides the entire working mechanism of the fire pit. Make sure that the kit is complete with a burner, drop-in pan, gas control knob, push-button spark igniter, thermocouple, air mixer, hoses, and a Type 1/ACME propane fitting.
- Propane tank: Buy a standard 20 lb. propane tank, the type used for grills and outdoor heaters. Purchase the tank empty, then have it filled by a service provider.
- Fire media: Fill the fire pit with an inflammable fire media or filler material. Choose lava rock, reflective fire glass, or lava pebbles. Fire media is decorative only, not a fuel source.
Safety Considerations
Do not operate a propane fire pit in an enclosed area. Have a Class B fire extinguisher on hand while operating the propane fire pit. Class B extinguishers use a dry substance to smother flames caused by flammable gasses.
If glass is your desired fire media, only use glass designed for fire pits. Fire pit glass is rounded for safer handling and it will not melt or shatter.
Check applicable city ordinances to make sure that you can operate a fire pit on your property. If you live in an apartment or own a condo, check your lease or condominium agreement.
What You’ll Need
Equipment / Tools
- Electric drill
- Electric miter saw or circular saw
- Utility knife
- Metal straightedge
- Hammer
- Pocket hole jig
- Pocket hole screws
- 3-inch wood screws
- 4-inch drywall knife
- 24 to 80 grit sandpaper
- Oscillating multi-tool or other plunge-cut tool
Materials
- 6 two-by-fours
- 3 cement boards, 1/2-inch thick
- Cement board tape
- Concrete board screws
- Fire burner kit
- 20 lb. propane tank
- Sanded thinset mortar, gray
- Fire media
- 1-1/8 inch plastic round nail-on furniture glides (4-pack)
- Sanded plywood veneer project panel, 2-foot by 4-foot
- Flat black paint
- 4 magnetic catches with counter plates
Instructions
-
Decide on the Location
Find an open location where you can build the fire pit and leave it in place. Choose a flat, level surface such as a patio that is made of non-combustible materials like concrete, brick, or stones. If there is none, you can install a patio made from pea gravel for $7 to $20 per square foot. Keep the propane fire pit 15 to 20 feet or more from the house or other combustible materials.
-
Cut the Wood
Using an electric miter saw or circular saw, cut:
- 4 two-by-fours at 55 inches each
- 6 two-by-fours at 17 inches each
- 4 two-by-fours at 25 inches each
-
Build the Sides of the Base
Build one side of the base by laying two of the 55-inch boards parallel to each other and 17 inches apart. Place three of the 17-inch boards between those two long boards: left, right, and center. Join all pieces by driving pocket hole screws. Repeat to build the second side of the base.
-
Join the Sides
Join the two sides of the base by running the four 25-inch two-by-fours between them: two on top, two on bottom. Attach by driving the 3-inch screws from the other side. Do not use pocket hole screws.
-
Add Sliders or Roller Wheels
Tack the four furniture glides to the bottom. Add roller wheels instead if you anticipate needing to frequently move the fire pit. Even if the fire pit will not be moved, it needs to be elevated by feet to prevent chipping the cement board.
-
Cover the Base With Cement Board
Cut the cement board and then install the pieces. Cut two pieces of cement board 55 inches long by 24 inches high to cover the two long sides. Cut one more piece at 28 inches wide by 24 inches high for one of the short sides. Attach the pieces to the sides of the base with concrete board screws.
-
Cover the Top With Cement Board
Measure the length and width of the fire pit base, including the installed cement board sides. Transfer that measurement to a cement board and cut the board to size. Install the board to the top of the fire pit base with concrete board screws. Be sure to sink the screw heads when installing the cement board.
-
Add Cement Board Tape
Cover the edges of the cement board with cement board tape. Wrap the tape from one surface over the edge to the adjacent surface. Do this for all four vertical edges and for the four edges on the top. Avoid overlapping the tape.
-
Add the Access Door
Cut the sanded plywood veneer project panel to 28 inches by 24 inches. Paint one side and all four edges flat black. Attach the door to the open end with the four magnetic catches and counter plates. Attach the larger pieces (the catches) to the inside of the access door opening. Attach the counter plates to the back of the access door.
-
Mark the Cutout for the Fire Pan
Cut the top of the fire pit to accommodate the drop-in pan. For a 30-inch by 10-inch drop-in pan, typically you will cut an opening that is between 1/2-inch and 1-inch larger than the pan. So, create a cutout that is 30-1/2-inch by 10-1/2-inch or up to 31-inch by 11-inch.
-
Create the Cutout for the Fire Pan
Cut out the opening on top of the fire pit for the fire pan. This opening cannot be cut with a utility knife. Plunge cut the opening with an oscillating multi-tool, rotary tool (such as a Dremel), an electric circular saw, or an angle grinder.
-
Finish the Base With Thinset
Apply thinset mortar to the base with the 4-inch drywall knife. First, cover the joint tape and the screw holes. Then, apply thinset to the rest of the base. Aim for a rough appearance, much like real concrete but avoid sharp peaks and ridges which can later chip away. High points can be sanded down later with sandpaper.
-
Install the Fire Burner
From the top, slide the fire burner into the cutout in the fire pit.
-
Add the Propane Tank
Add the propane tank. Make all necessary connections according to the fire burner kit instructions.
-
Add the Fire Media
Add between one and three inches of fire media to the fire tray. More than three inches of media can smother the flame. Layering the media helps control costs. For example, start with an inch of lava rock, then add another inch of reflective fire glass.
Read the full article here


